
Introduction to Tuna Tataki
Tuna tataki is a delectable Japanese dish that perfectly marries simplicity and flavor, making it an ideal choice for busy young professionals. With just 10 minutes of total prep and cook time, you can whip up a culinary delight that impresses friends or serves as a nutritious weekday meal.
Why Tuna Tataki is the perfect choice for young professionals
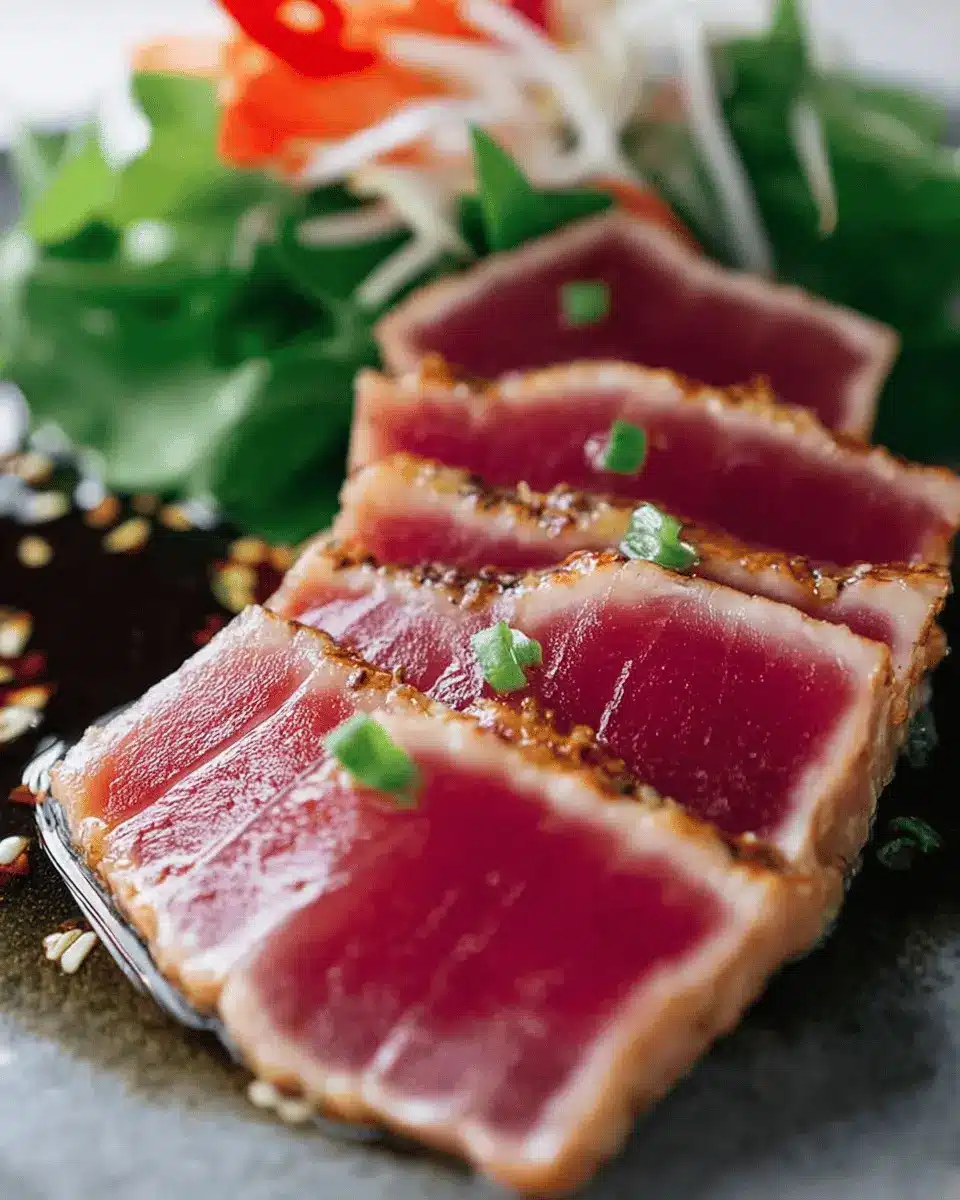
Imagine stepping into a bustling kitchen after a long day, craving something fresh and satisfying but not wanting to spend hours cooking. Tuna tataki shines in this scenario! It offers a delightful blend of seared exterior and raw interior, providing a rich texture and umami flavor without demanding lengthy preparation.
Furthermore, it’s packed with protein—a crucial nutrient for those maintaining an active lifestyle. With its healthy fats from the tuna and the tangy zest of ponzu dressing, it aligns perfectly with the preferences of those looking for nutritious yet flavorful meals. For additional tips on health benefits, you might find this article useful, highlighting the advantages of including seafood in your diet.
In essence, tuna tataki is more than just a meal; it's a quick, culinary adventure that brings a taste of Japan to your dinner table! Ready to dive into this fabulous recipe? Let's get started!
Ingredients for Tuna Tataki
Essential ingredients for a flavorful Tuna Tataki
To create a mouthwatering tuna tataki, you’ll want to gather some quality ingredients that elevate the dish. Here’s a breakdown of the essentials:
- Tuna: 200g (3.5oz) sashimi-grade tuna blocks, the star of the show—make sure to select fresh, high-quality fish.
- Seasoning: A sprinkle of salt and black pepper to enhance the flavors subtly.
- Oil: Just 1 tablespoon of oil for searing your tuna to get that perfectly crisp exterior.
- Ponzu sauce: 4 tablespoons to provide a zesty kick that complements the tuna beautifully.
Optional ingredients for added flair
While the essentials are key, adding a few optional ingredients can take your tuna tataki to the next level:
- Perilla leaves: Two leaves for a vibrant garnish that brings freshness.
- Daikon: About 20g finely julienned, adding crunch and a subtle bite.
- Shallots and ginger: A tablespoon each for those who crave additional layers of flavor.
- Momiji Oroshi: A spicy, grated daikon with chillies, perfect for a delightful kick.
For more about these ingredients and how they enhance your creation, check out this guide on choosing sashimi-grade fish. Your taste buds will thank you!
Preparing Tuna Tataki
If you're looking for a quick yet impressive dish to whip up for yourself or guests, Tuna Tataki is a fantastic choice. With its vibrant colors and delicious flavors, it’s bound to turn heads. Let’s walk through the process step by step.
Gather and Prep Your Ingredients
Before you start, it's essential to have everything at hand. For this recipe, you'll need:
- Tuna: Two blocks of sashimi-grade tuna (100g or 3.5 oz each).
- Seasonings: Salt and black pepper for seasoning.
- Oil: Just a tablespoon to help sear the tuna.
- Ponzu Sauce: Four tablespoons for that distinctive citrusy flavor.
Don't forget your garnishes! Perilla leaves, julienned daikon, and a splash of creativity will really elevate your dish. For detailed instructions on preparing Ponzu, check out my Ponzu recipe.
Season the Tuna Blocks
Now that you have everything ready, it’s time to season your tuna blocks. Start by placing them on a clean cutting board. Lightly sprinkle salt and black pepper over the long sides. Remember, skip the small sides to maintain that beautiful red color once we sear it.
Heat the Frying Pan
Next, grab a frying pan and pour in a tablespoon of oil. Turn the heat to high. It’s crucial to get the pan hot enough to achieve that perfect sear.
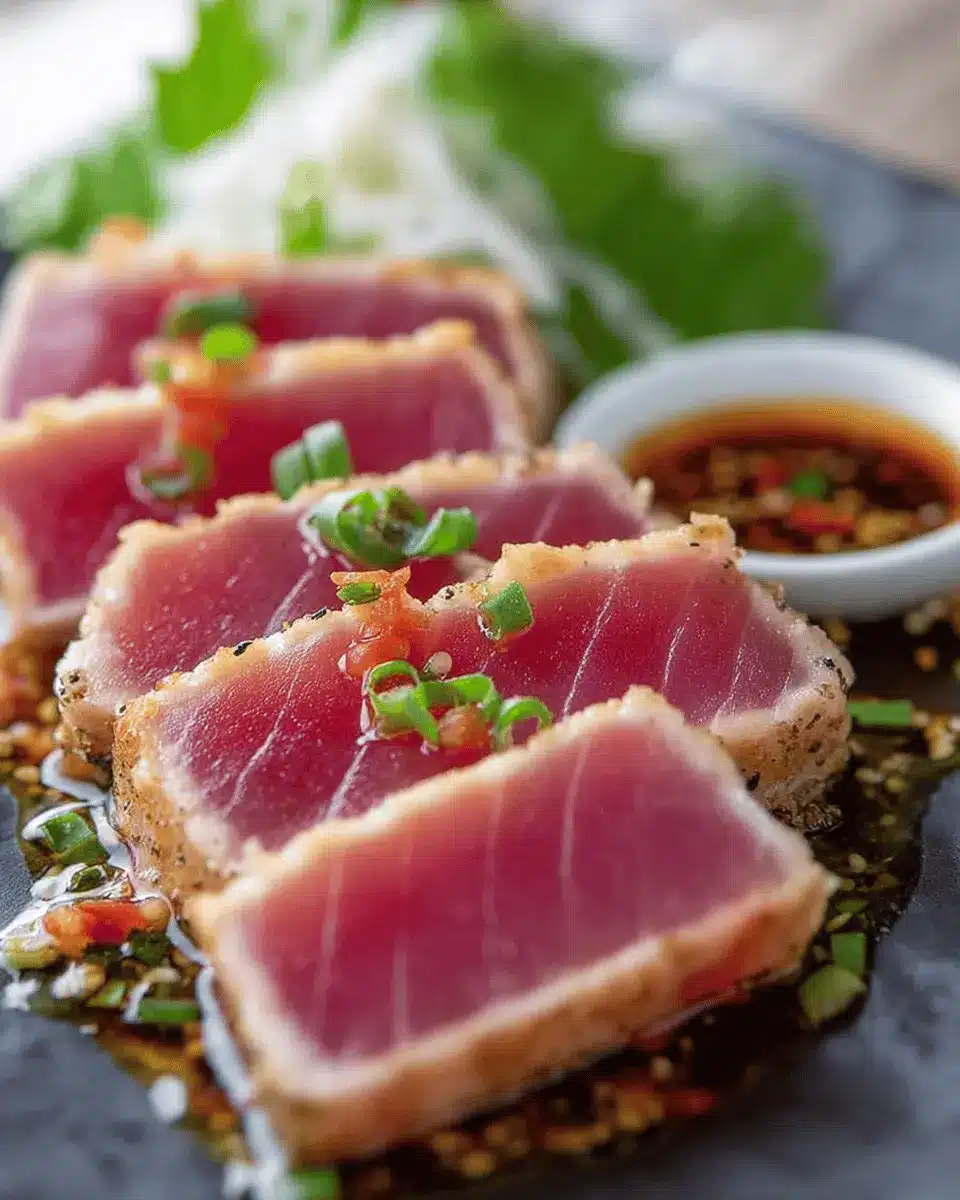
Sear the Tuna to Perfection
When your pan is sizzling, carefully place the tuna blocks on one long side. Sear for about 15-20 seconds until the edges begin to change color, roughly 2-3mm into the flesh. Then, turn it 90 degrees to sear the next side. Be mindful of not overcooking here; we want that lovely contrast between the seared outer layer and the raw inside!
Cool and Slice the Tuna
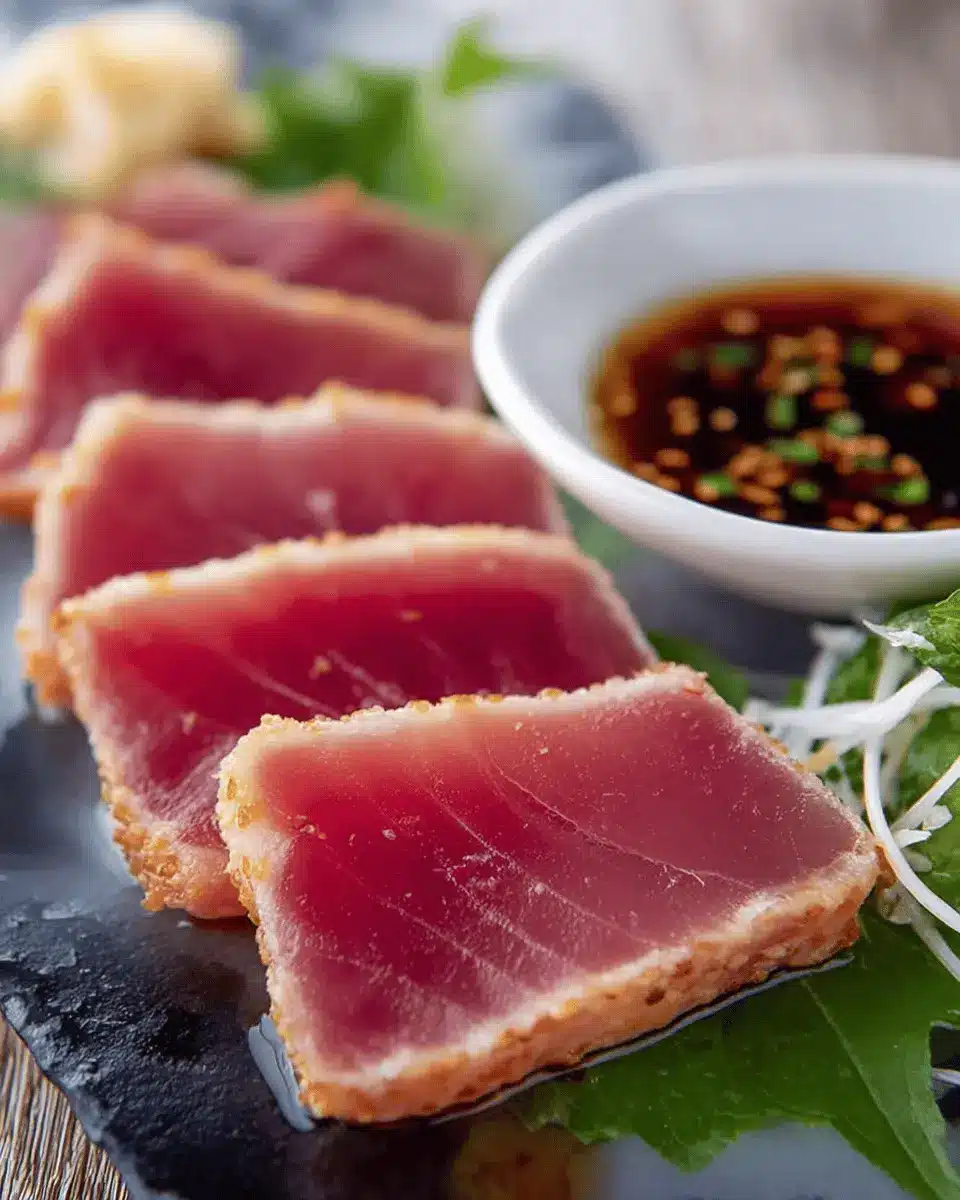
Once all sides are seared, transfer the tuna blocks to a plate. Allow them to cool down, perhaps placing them in the fridge for a quicker chill session. Once they’re firm to the touch, slice the tuna into 5-6mm thick pieces. A sharp knife here is your best friend!
Prepare Garnishes and Presentation
While your tuna is cooling, it’s a great time to prep your garnishes. For a beautiful presentation, consider using perilla leaves and julienned daikon. Layer the tuna slices artfully around your garnishes and drizzle with that flavorful Ponzu sauce. Not only does it add zest, but it also enhances the dish's aesthetics.
Tuna Tataki is a breeze to prepare, yet it feels like a culinary masterpiece. So, now that you have the steps down, aren’t you excited to dive into this delightful Japanese dish?
Variations on Tuna Tataki
Creative Serving Options for Tuna Tataki
Tuna tataki is a versatile dish that lends itself well to creative presentation. For a fun twist, consider serving your tuna tataki slices atop a bed of mixed greens drizzled with sesame dressing. You might also try pairing it with cucumber ribbons for a refreshing crunch. Alternatively, use avocado slices for a creamy balance – the options are endless!
Incorporating Local Flavors and Ingredients
Why not infuse local flavors into your tuna tataki? If you're in a coastal area, add herbs like cilantro or basil for a fresh burst. Incorporating local fish sauce can also elevate the dish, introducing unique regional notes. Celebrate seasonal ingredients by using fresh produce you find at local markets! These little touches can make your tuna tataki truly special.
For more creative ideas, check out this inspiring article on Japanese cuisine that explores flavor pairings and traditional techniques.
Cooking tips and notes for Tuna Tataki
Best practices for sourcing tuna
When selecting tuna for your Tuna Tataki, quality is key. Look for sushi-grade tuna, which means it’s been frozen to kill any parasites—essential for safety! Freshness is crucial: bright red flesh is a good sign, while any dullness may indicate age. Local fish markets often stock reliable options, allowing you to ask questions about sourcing. For more on where to buy fresh seafood, check out resources like SeafoodWatch.
Tips for achieving the perfect sear
Getting the perfect sear on your tuna is easier than you think! First, ensure your pan is hot—the oil should shimmer but not smoke. Sear each side for about 15-20 seconds, allowing the exterior to brown while keeping the inside rare. Keep in mind that tuna can cook quickly, so stay attentive! To achieve a perfect crust, you can also pat the blocks dry with paper towels to remove excess moisture before seasoning. Enjoy the stunning contrast of warm and cool as you slice into your beautifully seared tuna!
Serving suggestions for Tuna Tataki
Plating ideas for an impressive presentation
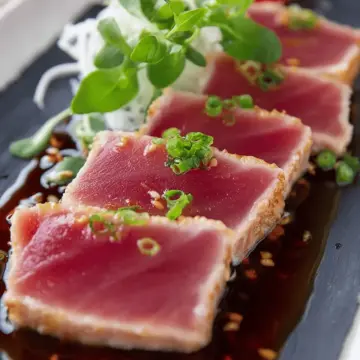
To make your Tuna Tataki a visual treat, consider using large, white plates that contrast beautifully with the rich color of the tuna. Arrange the slices fan-like around a bold, green perilla leaf, adding pops of color with julienned daikon and vibrant cherry tomatoes. For an added touch of sophistication, drizzle your Ponzu dressing artfully over the tuna, allowing it to pool slightly on the plate. Serve with small dishes of Momiji Oroshi on the side for an extra burst of flavor. Remember, presentation is key, so take a moment to elevate your serving style!
Beverage pairings to complement the dish
When it comes to beverages, pair your Tuna Tataki with fragrant herbal teas, such as jasmine or green tea, for a refreshing palate cleanse. Alternatively, iced matcha or yuzu soda can offer a delightful, citrusy counterbalance to the dish's umami flavors. If you prefer something richer, a light, fruity sparkling water with a hint of lime enhances the dining experience without overwhelming your taste buds. Each sip should not only complement the dish but enhance the overall meal experience, creating a delightful harmony of flavor.
Time Breakdown for Tuna Tataki
Preparation Time
Prep your ingredients in just 8 minutes. This includes the necessary steps to get your tuna and garnishes ready, ensuring everything flows smoothly once it’s time to cook.
Cooking Time
The searing of the tuna will take a quick 2 minutes. That’s right—just a flash and this dish comes to life, highlighting the fresh flavors!
Total Time
In total, you’ll need about 10 minutes to create this stunning Tuna Tataki. Perfect for a weeknight dinner or an impressive appetizer for guests!
By following these straightforward time guidelines, you can enjoy the deliciousness of Tuna Tataki without feeling rushed. Want to dive deeper into the health benefits of this dish? Check out the Health Benefits of Tuna for more insights.
Nutritional Facts for Tuna Tataki
Calories per Serving
A serving of Tuna Tataki contains approximately 203 calories, making it a light yet satisfying option for a main dish or appetizer.
Protein Content
Packed with 26g of protein, this dish is great for maintaining muscle mass and keeping you feeling full throughout the day.
Fat and Sodium Levels
While relatively low in fat at 7.7g, it does contain 655mg of sodium, so enjoy responsibly, especially if you're monitoring your salt intake.
For more details on maintaining a balanced diet, consider checking out resources like Healthline and Nutrition.gov for insightful nutrition advice.
FAQs about Tuna Tataki
What's the best type of tuna to use for Tataki?
For the best tuna tataki, look for high-quality sashimi-grade tuna, such as Yellowfin or Ahi. The vibrant pink color and firm texture ensure a delightful eating experience. Always ask your fishmonger about the freshness and source to ensure you’re getting top-notch quality.
How do I store leftover Tuna Tataki?
If you have any leftover tuna tataki, store it in an airtight container in the refrigerator. It's best enjoyed within 1-2 days for optimal freshness. Keep in mind that the longer it sits, the more the texture may change. To maintain its flavor, avoid freezing as thawing can affect its delicate nature.
Can I make Tuna Tataki without ponzu sauce?
Absolutely! While ponzu sauce adds a fantastic zing to your tuna tataki, you can experiment with alternatives like soy sauce mixed with a splash of citrus for a similar flavor profile. Feel free to get creative with your dipping sauces, as the key is finding what best pleases your palate! For more ideas, check out this guide on dips.
Conclusion on Tuna Tataki
The lasting appeal of homemade Tuna Tataki
Crafting your own tuna tataki is a rewarding culinary experience that brings restaurant-quality flavors to your kitchen. Its blend of freshness and umami, paired with the vibrant Ponzu sauce, makes for a delightful dish. Share with loved ones, and enjoy the flavors that always impress!
Tuna Tataki (Seared Tuna) with Ponzu
Equipment
- Frying pan
Ingredients
Tuna Tataki
- 2 blocks sashimi tuna 100g/3.5oz each
- Black pepper to taste
- Salt to taste
- 1 tablespoon oil
- 4 tablespoon Ponzu
Serving Option 1
- 2 leaves perilla
- 20 g daikon julienned finely
- 1 small yellow tomato halved
Serving Option 2
- 2 leaves perilla
- 20 g daikon julienned finely
- 1 tablespoon shallots finely chopped
- 1 teaspoon grated ginger
- 2 tablespoon Momiji Oroshi
Momiji Oroshi
- 50 g daikon
Instructions
Preparation
- Soak the julienned daikon in ice water to crisp.
Tuna Tataki
- Place the tuna blocks on a cutting board. Salt lightly and sprinkle black pepper over the long sides of the blocks.
- Heat a frying pan with oil over high heat.
- When the frying pan becomes hot, place the tuna blocks on one long side at the bottom.
- Cook until the bottom of the tuna changes colour, about 2-3mm/1/8" into the flesh (about 15-20 seconds).
- Turn the block 90 degrees and repeat cooking each long side in the same way.
- Remove the tuna blocks to a plate, leave them to cool.
- Slice the seared tuna into 5-6mm/¼" thick pieces.
Serving Option 1
- Place a perilla leaf in the centre of each serving plate.
- Place half of the tuna tataki slices around each perilla leaf.
- Drain and squeeze the daikon to get rid of excess moisture and pile up half of the daikon on the perilla leaf on each plate, topped with a piece of tomato.
- Drizzle 2 tablespoons of Ponzu over the tuna pieces on each plate. Serve immediately.
Serving Option 2
- Drain and squeeze the daikon to get rid of excess moisture and pile up half of the daikon on each serving plate, slightly off-centred.
- Place a perilla leaf on the side of each daikon mound so that the leaf lays diagonally.
- Spread the tuna slices next to the perilla leaf only slightly overlapping each other.
- Place shallots, ginger and Momiji Oroshi on each perilla leaf.
- Drizzle 2 tablespoons of Ponzu over the tuna pieces on each plate. Serve immediately.
Momiji Oroshi
- Make a vertical incision to the daikon piece, three quarters of the way through so that the bottom part of the daikon is intact.
- Squeeze the chillies to remove excess moisture and place them in the slit of the daikon vertically.
- Hold the daikon firmly, facing the opening down, so that the chillies do not fall out.
- Grate the daikon with chillies using a fine grater.


Leave a Reply