
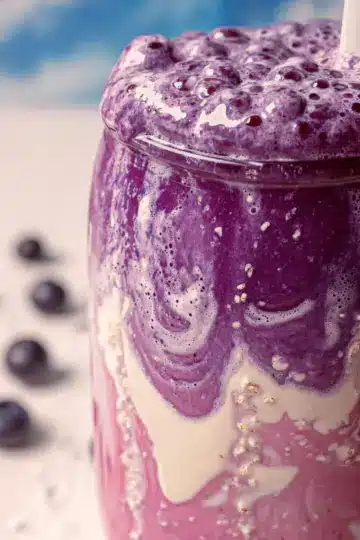
Introduction to Orange Marmalade
Making your own orange marmalade is not just about spreading a tasty treat on your morning toast; it’s an enriching experience, especially for young professionals navigating their busy lives. This homemade version captures the sweet and tangy essence of fresh oranges, making it a delightful addition to your breakfast routine or a thoughtful gift for friends and family.
Why is homemade orange marmalade a great choice for you? First, it allows you to control ingredients, ensuring that you use fresh, organic oranges without any preservatives. Plus, the process is pretty straightforward, providing a rewarding break from your hectic schedule. According to a survey by the Specialty Food Association, over 60% of millennials prefer homemade products for their unique flavors and health benefits.
Imagine the satisfaction of enjoying a breakfast that you’ve crafted yourself! Not to mention, the vibrant color and aroma of orange marmalade can brighten any gloomy morning. Whether served on toast, paired with turkey bacon, or used as a topping for yogurt, this vibrant condiment adds a gourmet touch that’s hard to beat.
Ready to dive in? Let’s get started on creating your delightful batch of orange marmalade!
Ingredients for Delicious Orange Marmalade
Essential ingredients for a perfect batch
To whip up a delightful batch of orange marmalade, you’ll need just a few quality ingredients that can transform your mornings. Here’s the breakdown:
- Oranges: Choose 2.0 to 2.3 pounds of fresh, organic oranges (about 4 medium-sized). Their vibrant peels are integral to the marmalade’s flavor and texture.
- Lemon: Add the zest and juice of one lemon for a zesty kick that enhances the overall taste.
- Water: Just ⅓ cup is needed to help break down the fruit and create a syrupy base.
- Sugar: A must-have! About 4 cups of granulated sugar will balance out the bitterness of the orange peels and preserve the marmalade.
By using high-quality ingredients, you can ensure that your marmalade truly stands out.
Tips on choosing the best oranges
When selecting oranges, look for those that are bright and vibrant, with a slightly soft feel. Thin-skinned varieties, such as Navel or Seville oranges, are ideal because they have less bitter pith. If possible, try to buy organic to avoid pesticides on the skin. Seasonal fruits, often found at local farmers' markets, can elevate your marmalade to a whole new level! For additional tips on choosing citrus, check out resources like Bon Appétit for further insights.
Step-by-step Preparation of Orange Marmalade
Making homemade orange marmalade is not only a delightful culinary adventure but also a great way to embrace the joy of preserving fruits. Let’s dive into the process step by step, ensuring you get that perfectly tangy and sweet result.
Prep the fruit
First things first, you want to start off by washing your fruits thoroughly. Begin by scrubbing the peels of your oranges and lemon under running water to remove any dirt or wax. If you're using organic fruit, you're in luck! The skin tends to be cleaner and comes with fewer pesticides. Safety first, right?
Chop the oranges and lemon
Next up, let’s chop your oranges and lemon! Cut off the ends of the oranges to make things neat. Then, slice each orange in half. From there, take each half and cut it into quarters, resulting in eight manageable pieces per orange. Remember to discard any seeds you encounter; they won't add anything good to your marmalade!
Puree the fruit
Now comes the fun part—pureeing the fruit! Place your orange pieces in a food processor and pulse until the rind is finely chopped, resembling confetti. This blend creates that distinct texture in your orange marmalade. To assist in determining doneness later, pop a plate in the freezer; it will help with the testing phase.
Combine ingredients in a saucepan
In a large saucepan, combine your pureed oranges, lemon zest, and juice, along with ** water** and sugar. Stir everything together well over medium heat, celebrating the aromatic symphony that unfolds. Did you know that sugar not only sweetens but also acts as a preservative?
Cook the mixture to perfection
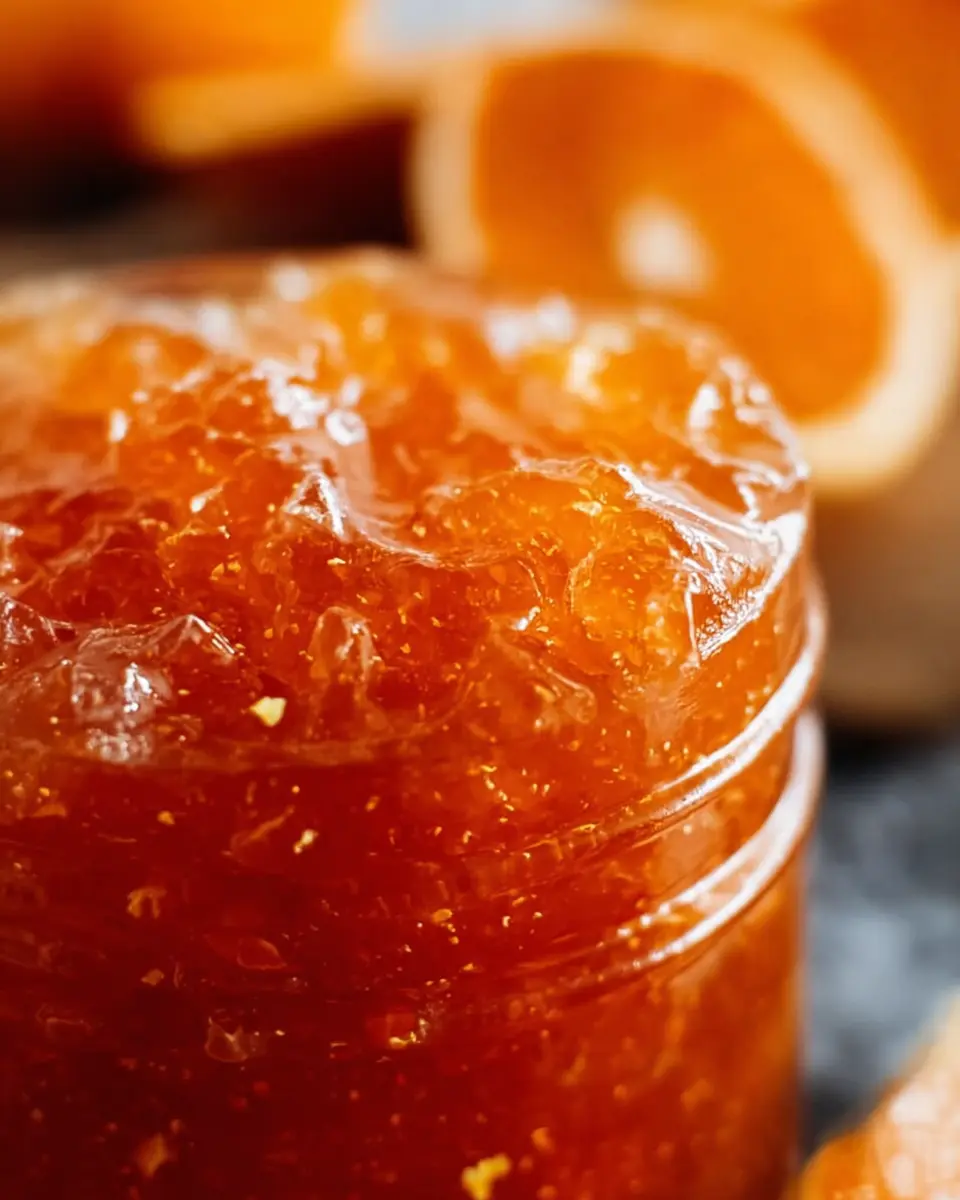
Bring the mixture to a boil, then reduce it to a low boil. Now, here’s where your patience is rewarded! Stir often, and let it simmer for about 30-35 minutes. How do you know when it's done? Take a spoonful and pour it onto that cold plate. If it forms a soft gel that moves slightly, you’ve hit the sweet spot! If it’s too runny, continue cooking for just a bit longer.
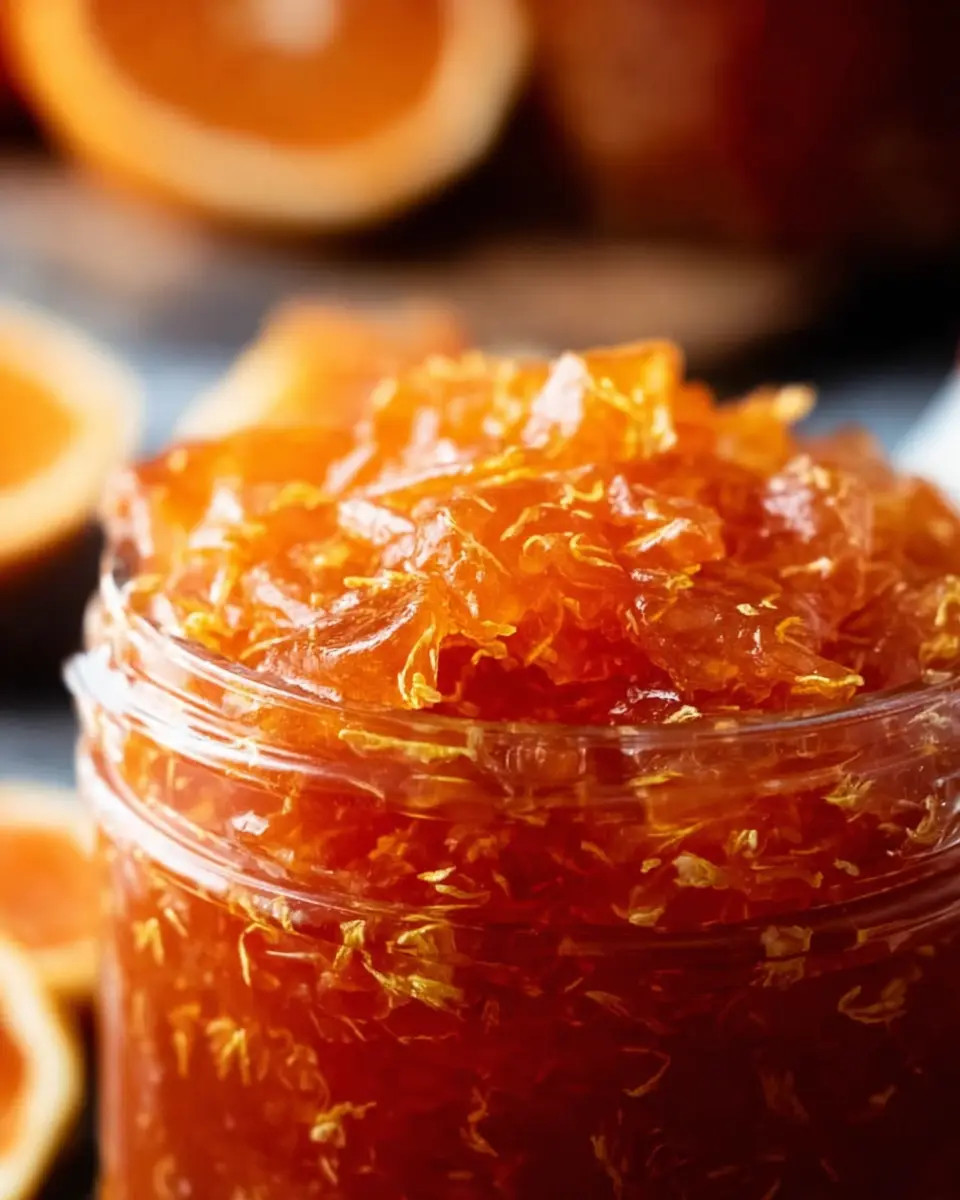
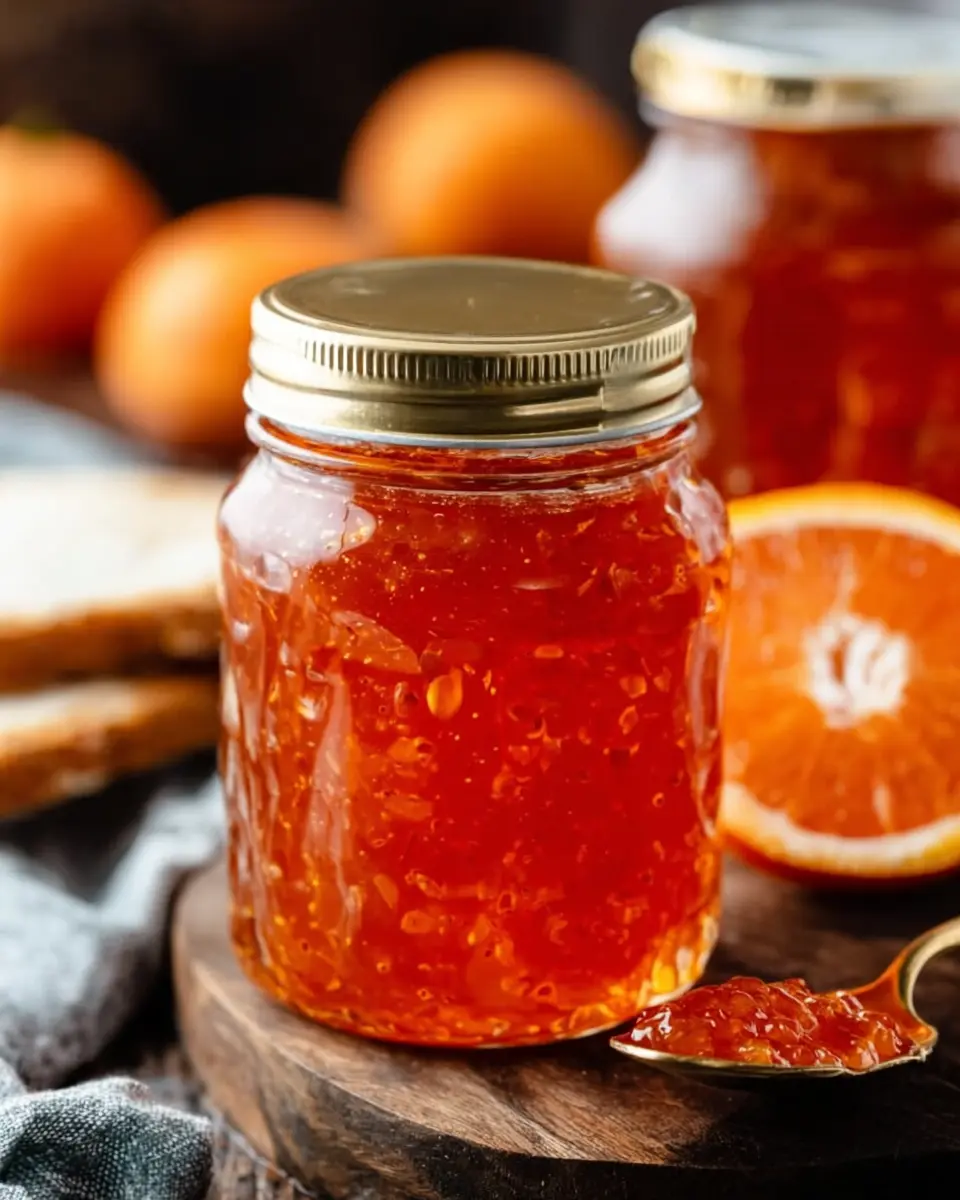
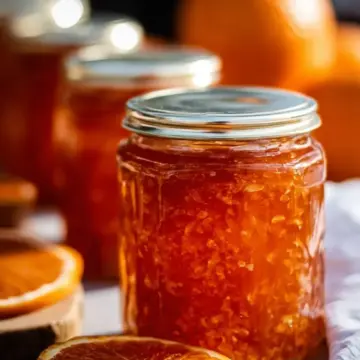
Pour into jars and cool down
Once you've reached your desired consistency, it’s time for the final step! Carefully pour the hot orange marmalade into sterilized jars. Allow the jars to cool to room temperature before sealing them. You can store your delicious creation in the refrigerator for up to two weeks or freeze it for about three months.
With this guide, you’re well on your way to enjoying the delightful taste of homemade orange marmalade. So what are you waiting for? Grab your ingredients, and let’s get cooking!
Variations on Orange Marmalade
Exploring variations of orange marmalade can elevate your breakfast table and add exciting twists to your favorite recipes. Here are a couple of delightful options!
Citrus Blend Marmalade
Why stick to just oranges? Combine oranges with tangy grapefruit or sweet mandarins for a zesty citrus blend. This not only enhances the flavor profile but also brightens up your morning toast. Remember to adjust the total weight of the fruit to keep your marmalade perfectly textured.
Spiced Orange Marmalade with Ginger and Cinnamon
Take your traditional orange marmalade to the next level by adding a hint of warmth. Infuse your recipe with freshly chopped ginger and a cinnamon stick while cooking. The result? A marmalade that dances with flavor! It’s a great way to kickstart those chilly mornings.
For additional flavor inspiration, check out resources from The Kitchn or Food Network for unique takes on marmalade!
Cooking Tips and Notes for Orange Marmalade
Tips on Sugar Alternatives and Preserving Options
When making orange marmalade, reducing sugar can affect the texture and preservation, so it’s essential to find the right balance. If you're keen on alternatives, consider using a blend of granulated sugar with stevia or monk fruit, but be prepared for a softer set. If you plan to preserve your marmalade for longer, stick to traditional sugar or consult this resource on sugar alternatives to find out which ones will work best in your favorite recipes.
Importance of Using Organic Ingredients
Opting for organic oranges for your marmalade is more than just a trend; it's crucial for flavor and health. Organic fruits typically have a brighter taste and are free from synthetic pesticides. This is particularly important since we use the peel in marmalade, and choosing organic ensures you’re not consuming harmful chemicals. Explore ways to source organic produce locally, as you'll find it supports both your health and local farmers!
Serving Suggestions for Orange Marmalade
Ideas for Enjoying Your Homemade Marmalade
Homemade orange marmalade is not just for toast! Spread it over cream cheese on a cracker for a quick appetizer or drizzle it over grilled chicken for a unique twist. Want to elevate your desserts? Add a spoonful to yogurt or ice cream for a citrusy kick. For a delightful breakfast option, mix it into oatmeal or pancakes for a burst of flavor.
Pairing Suggestions with Breakfast Options
Pair your orange marmalade with breakfast classics for a refreshing experience. It complements:
- Turkey Bacon: Slather some on your morning scramble for an unexpected blend of sweet and savory.
- English Muffins: Spread it on warm muffins for a delightful crunch.
- Scones: Serve with clotted cream and a generous dollop of marmalade for a tea-time treat.
Want to learn more about citrus cooking methods? Check out this guide. There's no end to the delicious possibilities!
Time Breakdown for Making Orange Marmalade
Preparation Time
Spend about 15 minutes prepping your ingredients. This includes washing and chopping the oranges and lemon, which is crucial for achieving the best flavor in your orange marmalade.
Cooking Time
You'll want to set aside 30 to 35 minutes for cooking. Keep an eye on the pot as the mixture thickens into that delightful marmalade texture.
Total Time
All in all, you’re looking at approximately 50 minutes from start to finish! This homemade orange marmalade is well worth the time invested, offering a vibrant taste that store-bought varieties can't match.
For tips on preserving your marmalade, check out this guide on canning basics for extra help!
Nutritional Facts for Orange Marmalade
Calories and Sugar Content
A serving of homemade orange marmalade contains approximately 592 calories and 148 grams of sugar. This high sugar content is primarily due to the addition of granulated sugar, which balances the tartness of the oranges and aids in preservation. Enjoying this delicious spread in moderation is key!
Nutritional Benefits of Oranges
Oranges pack a punch of health benefits. Each serving of orange marmalade draws from the vitamins and minerals present in oranges, including:
- Vitamin C: Boosts your immune system and promotes skin health.
- Fiber: Aids digestion and helps maintain a healthy weight.
- Potassium: Supports heart health and helps manage blood pressure.
For more detailed information about the benefits of oranges, check out resources from health experts like the American Heart Association and Harvard Health.
FAQs about Orange Marmalade
How can I adjust the sweetness of my marmalade?
Orange marmalade is all about balance, and you can easily tailor the sweetness to your taste! If you find the recipe a bit too sweet, consider reducing the sugar by ¼ to ½ cup, but be mindful that this may affect the texture and shelf life. You can also swap in half sugar and half a natural sweetener like Stevia or erythritol, but remember that these alternatives may not provide the same consistency.
What’s the best way to store homemade marmalade?
For optimal freshness, store your homemade orange marmalade in sterilized glass jars with airtight lids. If you plan to consume it within two weeks, keep it in the refrigerator. Alternatively, you can freeze it in airtight containers for up to three months. Just make sure to leave a little space at the top of the container, as the marmalade will expand while freezing.
Can I use other fruits for marmalade?
Absolutely! While oranges are classic, you can experiment with other fruits for a unique twist. Try using grapefruits, lemons, or even a mix of citrus fruits! Just ensure that the total weight of the fruit stays similar, and you’ll achieve delicious results. If you'd like more ideas, check out this guide on flavor combinations here.
Conclusion on Orange Marmalade
Creating your own orange marmalade is a delightful experience that combines creativity and flavor. Enjoying it on toast or as a glaze elevates your meals. With just a few ingredients and a bit of patience, you can bring a taste of sunshine into your kitchen. Try it today!
Orange Marmalade
Equipment
- Food Processor
- large saucepan
- jars or containers
Ingredients
Fruits
- 2.0 to 2.3 pounds oranges about 4 medium
- 1 lemon zest and juice of
Other Ingredients
- ⅓ cup water
- 4 cups granulated sugar
Instructions
Preparation
- Wash the oranges and lemon, thoroughly scrubbing the peels.
- Cut off the ends of the oranges. Cut the oranges in half, then cut each half into 4, so you’re left with 8 pieces of orange. Discard any seeds.
- Place the orange pieces in a food processor and pulse/chop until the rind is in very small pieces.
- Place a plate in the freezer, to help us test for doneness later.
Cooking
- Add oranges to a large saucepan over medium heat. Zest the lemon into the pot and squeeze the juice from it, into the pot. Add water and the sugar and stir well.
- Bring mixture to a boil. Reduce heat to a low boil and simmer, stirring often, for 30-35 minutes until thickened.
- When done, it will slide off the spoon in sheets, not droplets, and a spoonful poured onto a cold plate should be a soft gel consistency that moves slightly.
- If after pouring onto a cold plate it’s thin and runs easily on the plate, it is not ready, so continue cooking.
- Pour into jars or containers with a lid. Allow to cool to room temperature, then store in the refrigerator for up to 2 weeks, or freeze for up to 3 months.


Leave a Reply