
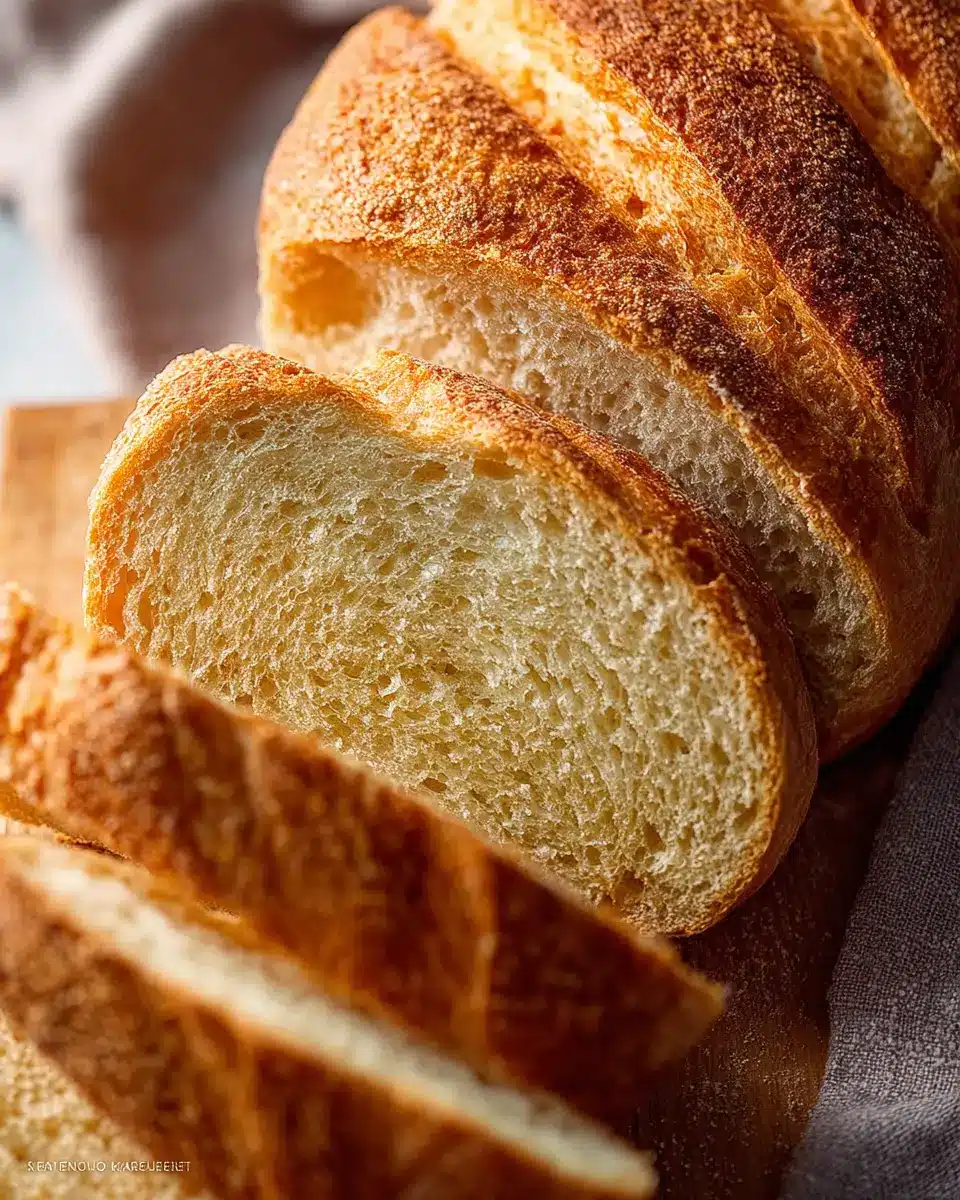
Introduction to Gluten Free White Bread
If you’re a young professional navigating the bustling world of work, you know how vital it is to find meals that are not only quick and convenient but also satisfying. Enter gluten free white bread: a delightful solution that meets both nutrition and taste. This bread is a game-changer for those who have gluten sensitivities or are simply looking to reduce their gluten intake. Made with wholesome ingredients, it provides a soft texture that’s perfect for sandwiches, toast, or just enjoying as is.
Imagine coming home after a long day and indulging in a slice of warm gluten free white bread slathered with avocado or your favorite spread. Sounds blissful, right? This versatile loaf can match any craving, from simple toasted breakfast to hearty turkey bacon sandwiches for lunch. Plus, studies show that gluten-free diets can help boost energy levels for some, making it even more appealing for busy professionals (Cleveland Clinic).
In this recipe, we achieve that classic bread-like texture with minimal fuss, ensuring that even non-gluten-free folks will be reaching for seconds. Ready to make your own? Let’s dive into the recipe!
Ingredients for Gluten Free White Bread
Essential Ingredients
Creating the perfect gluten free white bread starts with the right ingredients. Here’s what you’ll need:
- Psyllium Husk: This is critical for the bread's structure and moisture. Opt for whole or rough psyllium husk for the best results.
- Flours: A blend of tapioca starch, millet flour, and sorghum flour forms the base, ensuring a light and fluffy texture. You can also substitute millet flour with finely ground brown rice flour if needed.
- Yeast: Instant yeast works wonders in this recipe. If using active dry yeast, remember to activate it first.
- Liquid: Lukewarm water is essential for hydrating the psyllium and activating the yeast.
- Vinegar and Olive Oil: These enhance flavor and texture, contributing to a delightful crust.
- Egg White: Brushing it on before baking gives your bread a gorgeous finish.
Optional Substitutes
Don't fret if you don't have all the specified ingredients on hand; there are plenty of alternatives:
- Consider swapping sorghum flour for light buckwheat flour or white teff flour to suit your taste.
- If you can't find tapioca starch, cornstarch, potato starch, or arrowroot starch will work seamlessly as substitutes.
- Need to avoid eggs? Simply brush the loaf with a plant-based milk instead, and you’ll still achieve a lovely crust.
For more insights on gluten-free baking, check out Gluten Free Baking Academy. Happy baking!
Step-by-step Preparation of Gluten Free White Bread
Making your own gluten free white bread may seem daunting at first, but let me assure you, it’s not as complicated as it sounds! With a few simple steps, you can craft a delicious loaf that’s perfect for sandwiches or toast. Let’s dive in!
Make the psyllium gel
The first step in creating your dough is to prepare the psyllium gel. This ingredient is essential for binding moisture and giving the bread that desirable texture. In a small bowl, mix 20 g (4 tbsp) of psyllium husk with 360 g (1½ cups) of lukewarm water. Stir it together and allow it to sit for about 30-45 seconds until a gel forms. This will be your secret weapon for achieving that soft, fluffy texture!
Combine dry ingredients
Next, grab a large bowl (or the bowl of your stand mixer, if you have one). Whisk together the following dry ingredients:
- 145 g (1¼ cups) tapioca starch
- 145 g (1 cup + 1 tbsp) millet flour
- 50 g (⅓ cup + 1 tbsp) sorghum flour
- 15 g (1 tbsp) sugar
- 8 g (1½ tsp) salt
- 6 g (2 tsp) instant yeast
If you’re using active dry yeast, don’t forget to activate it first! Check out this detailed guide on active dry yeast for more tips.
Mix the wet and dry ingredients
Make a well in the center of your dry mix and add the prepared psyllium gel, along with 15 g (1 tbsp) olive oil and 8 g (1½ tsp) apple cider vinegar. Mix the ingredients until they come together to form a dough. It’s essential to knead the mixture well — this ensures that everything gets fully incorporated and creates a smooth texture.
Knead the dough
Once your ingredients are mixed, it’s time to get your hands a bit messy! Knead the dough for about 5-10 minutes. Use a spatula to scrape the bowl's edges and ensure everything is blended nicely. The dough should be smooth and pliable, coming away easily from the sides of the bowl. If it’s too sticky, resist the urge to add more flour, as this will affect the texture of your gluten free white bread.
Shape and proof the dough
Now onto shaping your loaf! Lightly flour your surface and turn out the dough, rolling it into a rough rectangle about 11 inches (28 cm) long. Fold the dough over itself, shaping it into a log by sealing the seams. Transfer this log to a baking sheet lined with parchment paper. Cover it loosely with plastic wrap and let it proof in a warm place for about 1 hour, or until it's doubled in size.
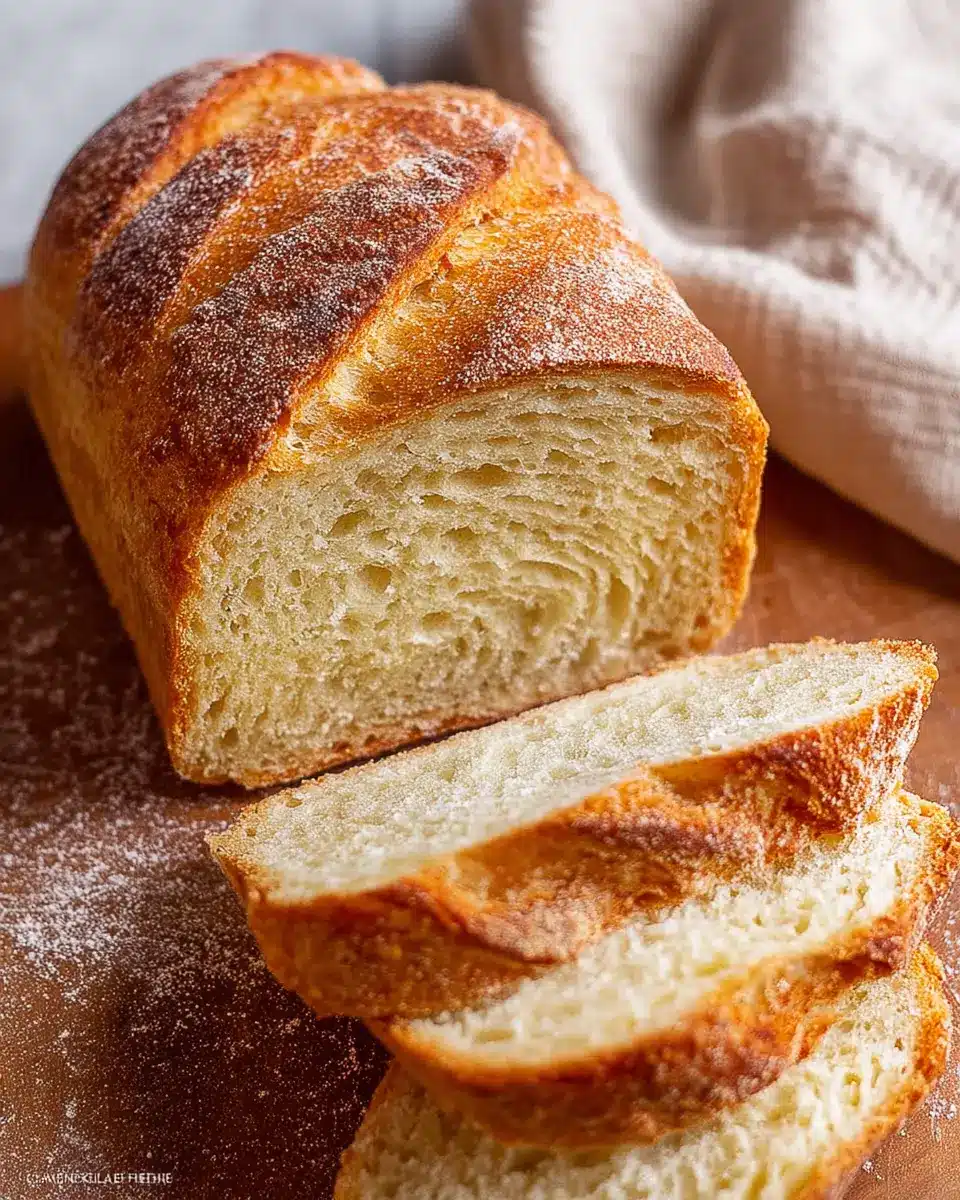
Bake the gluten-free bread
Preheat your oven to 425ºF (220ºC), and place a cast iron skillet on the bottom rack (this will help achieve a crispy crust). Once the loaf has risen, gently brush it with whisked egg white, score it with a knife, and place it in the oven. Remember to add a few ice cubes to the hot skillet to create steam. This baking technique will give your loaf a wonderful texture. Bake for about 40 minutes until golden brown.
With each step, you’re getting closer to enjoying your homemade gluten free white bread. Patience is key—allow it to cool before slicing into it, or you might end up with a sticky crumb! Happy baking!
Variations on Gluten Free White Bread
Herb-Infused Gluten-Free Bread
If you want to elevate your gluten free white bread, consider adding fresh or dried herbs! Rosemary, thyme, or oregano are fantastic choices that can transform a simple loaf into an aromatic masterpiece. Simply mix in about 1-2 tablespoons of your chosen herbs during the mixing stage. The end result will be a flavorful bread that pairs beautifully with soups or salads. For inspiration, check out this herb pairing guide to find the perfect match.
Gluten-Free Garlic Bread Option
Craving some savory garlic bread to accompany your meals? Use your gluten free white bread as a base! Before baking, brush the loaf with a mix of olive oil and minced garlic, and sprinkle with a pinch of salt and fresh parsley. Bake as instructed, and enjoy a warm, garlic-infused treat that everyone will love. For extra cheesiness, consider topping with some grated dairy-free cheese before baking—a delicious alternative you won’t soon forget! For more topping ideas, you can explore this garlic bread topping resource.
By experimenting with these variations, you can enjoy fresh takes on your gluten free white bread and impress your friends and family. What’s your favorite twist on this classic recipe?
Cooking Tips and Notes for Gluten Free White Bread
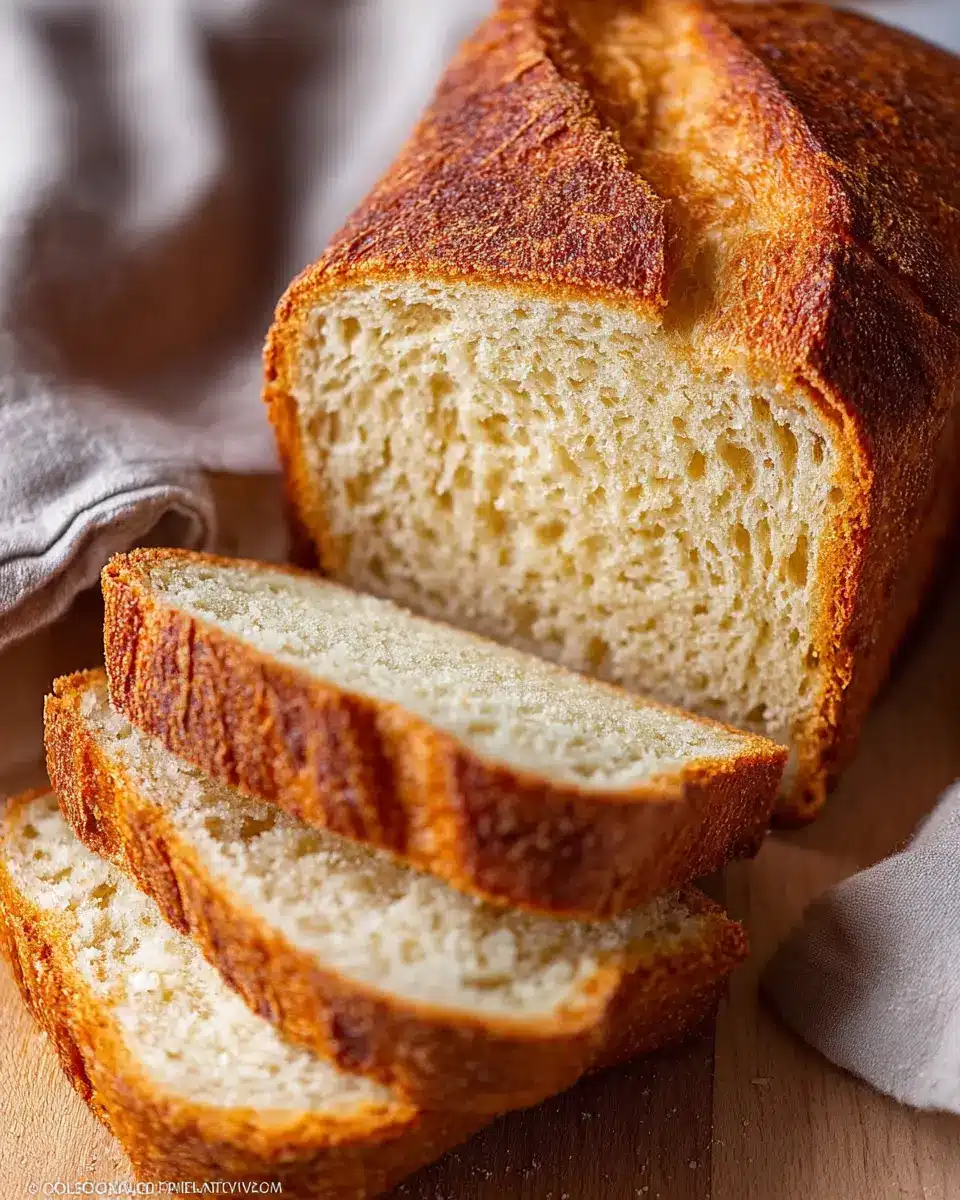
Tips for Perfect Texture
Achieving a soft and fluffy texture in gluten free white bread hinges on key ingredients and techniques. Ensure that your psyllium gel is well-formed before mixing; this acts as the binding agent. Be mindful not to add extra flour while kneading, as this can lead to a dense loaf. Instead, aim for a smooth, supple dough that easily pulls away from the bowl. For extra fluffiness, consider using finely milled flours like brown rice flour or a blend tailored specifically for gluten-free baking, which can enhance the final texture.
Common Pitfalls to Avoid
Even seasoned bakers can run into issues when making gluten-free bread. A major pitfall is not allowing enough proofing time; this is crucial for developing flavor and achieving that sought-after rise. Don't forget to preheat your oven adequately, as temperature discrepancies can impact your loaf's crust and structure. Also, resist cutting into your bread too soon; letting it cool completely allows the crumb to set, ensuring a better slice. For more expert advice, check out this comprehensive gluten-free baking guide.
Serving Suggestions for Gluten Free White Bread
Sandwich Ideas
Elevate your lunchtime with gluten free white bread as the foundation for delicious sandwiches! Try a turkey bacon and avocado delight, adding fresh greens for extra crunch. For a twist, layer in some roasted vegetables and spread with creamy hummus. You can also whip up a classic grilled cheese using melty cheddar and your favorite seasonings. Don’t forget about the filling possibilities—chicken ham with a zesty mustard can be a game-changer!
Toast Toppings
If you're a toast enthusiast, your gluten free white bread will shine in this department too! Spread it with almond butter and top with banana slices for a delightful breakfast. Alternatively, go savory with smashed avocado, a sprinkle of salt, and chili flakes. For a sweet treat, try fresh berries and a drizzle of honey or maple syrup. The light, fluffy texture of the bread makes it the perfect canvas for your favorite toppings!
For more ideas, check out this guide on healthy sandwich ingredients or learn about different toast trends here.
Time Breakdown for Gluten Free White Bread
Preparation Time
Start your baking journey with 45 minutes of preparation time. This includes mixing your ingredients and allowing the psyllium gel to set, ensuring a fluffy texture for your gluten free white bread.
Baking Time
The baking time takes about 40 minutes. It's so worth the wait! The result? A beautifully golden, homestyle loaf that will make your kitchen smell divine.
Total Time
All in all, from start to finish, you're looking at approximately 2 hours and 25 minutes. Plan your baking around this timeframe, and you’ll have a delicious loaf ready to impress family or friends. Enjoy every bite!
For more tips on baking gluten free bread at home, check out this resource.
Nutritional Facts for Gluten Free White Bread
When you're diving into a loaf of gluten free white bread, it's essential to know what you're consuming. Here’s a quick glance at its nutritional facts:
Calories
A single slice of gluten free white bread typically contains around 70-90 calories. This makes it a suitable option for those watching their caloric intake while still wanting to enjoy a piece of soft, fluffy bread.
Fiber Content
You can expect about 1-2 grams of fiber per slice, depending on the specific flours used. While it’s lower in fiber compared to whole-grain breads, pairing it with fiber-rich toppings like avocado or turkey bacon can enhance your meal.
Protein
Each slice offers roughly 2-3 grams of protein. While not a significant source of protein, it can still complement your diet when combined with protein-packed ingredients, making it a versatile base for sandwiches or breakfast options.
For more information on gluten-free diets and options, check resources from the Celiac Disease Foundation or the National Institute of Health.
FAQ about Gluten Free White Bread
How long does homemade gluten-free bread last?
Homemade gluten free white bread can last about 3-4 days when stored in a bread box, paper bag, or wrapped in a clean dish towel in a cool, dry place. To maintain freshness, consider toasting the bread on days three and four for an extra crunch!
Can I freeze gluten-free bread?
Absolutely! Freezing is a great way to extend the life of your gluten free white bread. Once the loaf has cooled completely, wrap it tightly in plastic wrap and then in foil or a zip-top bag to avoid freezer burn. Thaw slices individually for a quick snack or meal, or warm the whole loaf in the oven.
What can I use instead of psyllium husk?
If you don't have psyllium husk on hand, you can substitute it with ground flaxseed or chia seeds mixed with water (about 1 tablespoon of seeds to 2.5 tablespoons of water for each tablespoon of psyllium). These alternatives can help achieve a similar texture in your gluten free white bread. For more tips, check out this article on gluten-free baking for additional guidance!
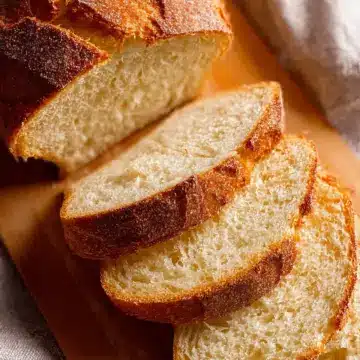
Conclusion on Gluten Free White Bread
In summary, this gluten free white bread recipe is a delightful option for anyone seeking a soft, delicious alternative to traditional bread. Perfect for sandwiches or simply toasted with butter, it’s sure to impress even the pickiest eaters. Try it, and embrace the joy of baking!
Gluten Free White Bread
Equipment
- Stand Mixer
- baking sheet
- parchment paper
- rubber spatula
- bread lame or sharp knife
- Cast Iron Skillet
Ingredients
Dry Ingredients
- 20 g whole/rough psyllium husk If using psyllium husk powder, use only 17g.
- 145 g tapioca starch Can substitute with cornstarch or potato starch.
- 145 g millet flour Can substitute with brown rice flour.
- 50 g sorghum flour Can substitute with light buckwheat or oat flour.
- 15 g caster/superfine or granulated sugar
- 8 g salt
- 6 g instant yeast Use 8g if using active dry yeast.
Wet Ingredients
- 360 g lukewarm water
- 15 g olive oil
- 8 g apple cider vinegar
- 1 large egg white whisked, for brushing before baking
Instructions
Making the Dough
- Mix together the psyllium husk and lukewarm water in a bowl to form a gel.
- In a large bowl or stand mixer, whisk together the tapioca starch, millet flour, sorghum flour, sugar, salt, and instant yeast.
- Make a well in the dry ingredients and add the psyllium gel, olive oil, and vinegar.
- Knead the dough until smooth and fully incorporated.
Shaping & Proofing the Loaf
- Turn out the dough onto a lightly floured surface and shape it into a rectangle.
- Roll the dough into a log and pinch the seam together to seal.
- Transfer the loaf to a baking sheet lined with parchment paper and cover lightly with plastic wrap.
- Proof in a warm spot until doubled in size, about 1 hour.
Baking the Loaf
- Preheat the oven to 425ºF (220ºC) with a cast iron skillet on the bottom.
- Brush the loaf with egg white and score with 5-7 diagonal slashes.
- Place the loaf in the oven, add ice cubes to the skillet, and reduce the oven temperature to 400ºF (200ºC).
- Bake for 15 minutes, then remove the skillet and bake for an additional 25-30 minutes.
- Cool on a wire rack before slicing.


Leave a Reply