
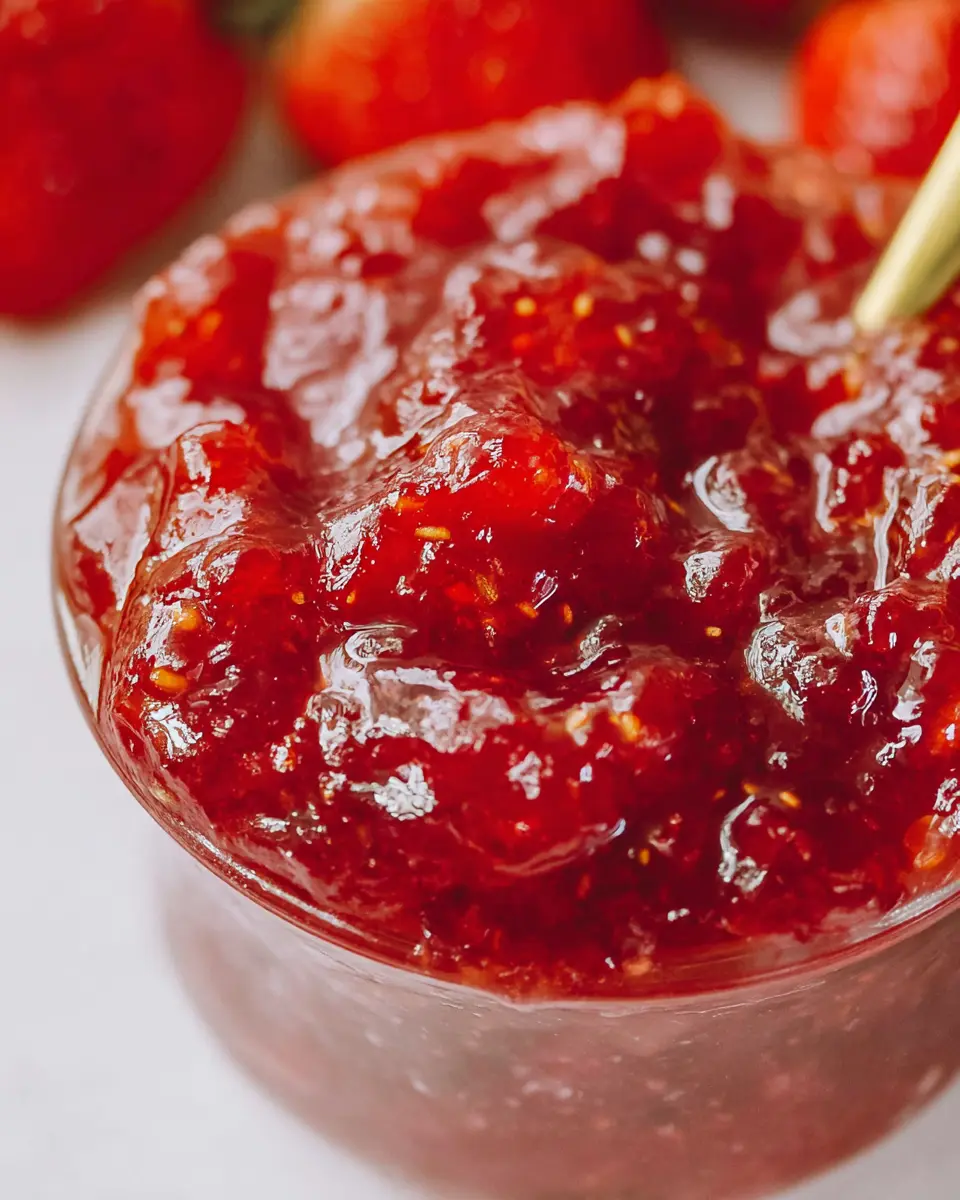
Introduction to Strawberry Preserves Recipe
Making your own strawberry preserves can be a delightful and rewarding experience, especially when you taste the freshness of homemade goodness. Why should you consider whipping up a batch in your own kitchen? First, homemade preserves offer a level of flavor and freshness that store-bought varieties simply can't match. When you use seasonal strawberries, the taste is vibrant and packed with nutrients, making it a far healthier choice.
Additionally, it’s a fantastic way to reduce sugar intake compared to many commercial options—and you can customize the sweetness to suit your palate. Interested in sustainability? Making your own preserves allows you to control the ingredients and reduce packaging waste.
Plus, there’s something undeniably charming about spreading that rich, fruity concoction on your morning toast. Imagine having a warming jar of summer sunshine ready for any chilly day! If you're intrigued by the idea of reviving those seasonal flavors year-round, I encourage you to follow along as we explore this strawberry preserves recipe. You’ll have a taste of summer that you can enjoy long after the strawberries are gone! For more inspiration, check out the benefits of homemade jams.
Why Make Strawberry Preserves at Home?
Making your own strawberry preserves allows you to unleash your creativity in the kitchen, experimenting with flavors and crafting a personalized spread that you truly love. Plus, sharing jars of your homemade gift with friends and family is a sure way to spread joy!
Ingredients for Strawberry Preserves
Creating your own strawberry preserves is simpler than you might think! To start, you’ll need just a handful of fresh and vibrant ingredients that capture the essence of summer. Here’s what you’ll need:
- 1 pound (453 grams) fresh strawberries: Look for ripe, juicy strawberries for the best flavor. Hulling them is essential, so you're left with only the sweet fruit.
- ¼ cup (50 grams) granulated sugar: This will help balance the tartness of the strawberries while allowing their natural sweetness to shine. You can adjust the amount depending on the sweetness of your berries.
- 2 teaspoons lemon juice: A splash of fresh lemon juice not only enhances the flavor but also aids in preserving the color and freshness of your preserves.
- ½ teaspoon vanilla extract: This little addition gives a delightful depth of flavor that complements the strawberries beautifully.
These ingredients come together marvelously, resulting in a delightful strawberry preserves recipe that’s perfect for spreading on toast, topping desserts, or simply enjoying straight from the jar. The joy of homemade preserves is that you can adjust them to your taste—experiment with additional spices or flavors if you're feeling adventurous! For more on fruit preservation, check out The National Center for Home Food Preservation.
Step-by-step Preparation of Strawberry Preserves
Making strawberry preserves from scratch isn't just a delicious way to savor summer's bounty; it’s an easy project you can manage in one afternoon. Follow this friendly step-by-step guide to create your own delightful preserves that elevate everything from toast to ice cream!
Gather your ingredients
Before you get started, make sure you have the necessary ingredients and tools at hand. Here’s what you’ll need:
- 1 pound (453 grams) fresh strawberries (hulled)
- ¼ cup (50 grams) granulated sugar
- 2 teaspoons lemon juice
- ½ teaspoon vanilla extract
- A small plate (for testing)
Gather these items and set them nearby; preparation turns out smoother when everything is in one place!
Prepare the strawberries
Now comes the fun part! Start by washing your strawberries thoroughly to remove any dirt or small pests. After they’re clean, hull the strawberries—this means removing the leafy green tops and any white core. Next, take a potato masher or the bottom of a glass and gently crush a few strawberries. This helps release juices, speeding up the cooking process.
Combine ingredients and cook
In a 1-quart or larger saucepan, combine the hulled strawberries, sugar, and lemon juice. The larger surface area helps them cook down quicker! Stir gently to mix the ingredients, and then bring the mixture to a boil over medium-high heat, stirring frequently. You want to keep it at a rolling boil for about 9 minutes—turn the heat down as needed to prevent burning.
Test for doneness
Once you think your strawberry preserves are nearing completion, it’s time for the test! Retrieve the cold plate you placed in the freezer earlier, and drop a spoonful of the mixture onto it. Allow it to cool for a minute, then gently push it with your finger. If it wrinkles and holds its shape, your preserves are ready! This method is a classic way to check jam consistency; you’ll be amazed at how quick it is.
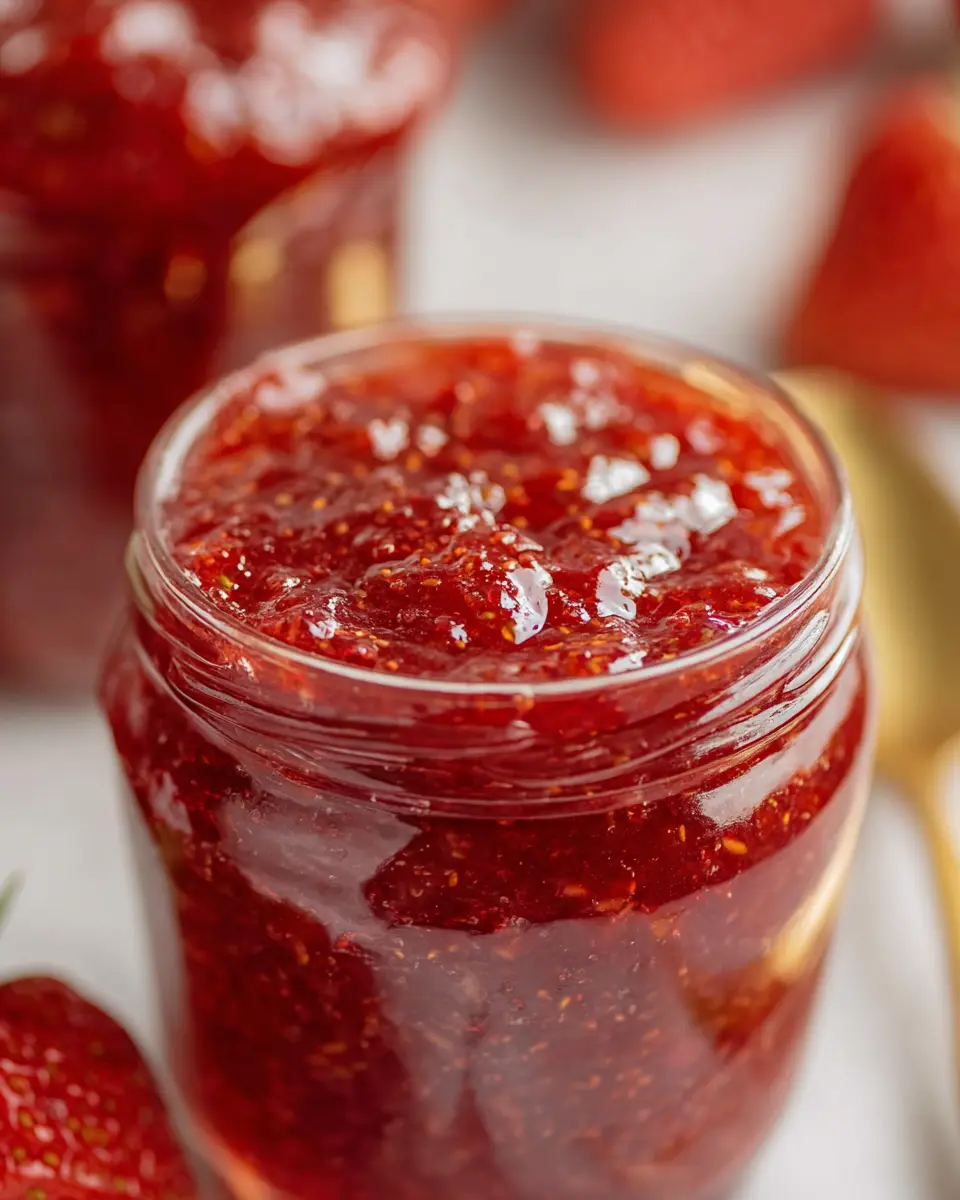
Cool and store the preserves
Remove the saucepan from heat and stir in the vanilla extract for an extra depth of flavor. Now, transfer the preserves to clean jars and let them cool at room temperature for about 1-2 hours. Once cooled, store the jars in the refrigerator for up to a week. If you find yourself with extra, don’t hesitate to freeze them for up to a year!
Strawberry preserves are perfect for spreading on crusty bread or drizzling over yogurt. So grab those fresh strawberries while they last, enjoy the sweet aromas of your kitchen, and savor every bite of your homemade creation! For additional tips and ideas, check out resources like Food Network and Serious Eats for more inspiration.
Variations on Strawberry Preserves
Strawberry Preserves with Herbs
Add a twist to your traditional strawberry preserves recipe by incorporating fresh herbs like basil or mint. Simply steep a few sprigs in your cooking mixture before straining them out for a refreshing herbal note. This delightful touch pairs beautifully with cheese platters or as an exciting topping for yogurt and desserts.
Spicy Strawberry Preserves
For those who crave a little heat, consider making spicy strawberry preserves! Incorporate a pinch of cayenne pepper or finely chopped jalapeño into your mixture. The sweetness of the strawberries combined with the spiciness creates a unique flavor profile that’s fantastic with grilled meats or as a glaze for roasted vegetables. It’s a fun way to elevate your preserves and impress your friends!
Curious for more variations? Explore additional flavor pairings at Serious Eats, where culinary creativity knows no bounds!
Cooking Tips and Notes for Strawberry Preserves
Choosing the right strawberries
Selecting ripe, fresh strawberries is key to any strawberry preserves recipe. Look for berries that are vibrant red, firm, and fragrant. Avoid those with bruises or mold. Local farmers' markets often have the best options; you can find strawberries picked at their peak ripeness, bursting with flavor.
Adjusting sweetness levels
Taste is subjective, so don’t hesitate to adjust the sweetness. If your strawberries are a little tart, you may need to add a bit more sugar. Start with the recommended amount, then taste during cooking. Remember, you can always add more sugar, but it won’t come out if you add too much! For an extra layer of depth, consider stirring in a splash of orange juice or a hint of honey.
Serving Suggestions for Strawberry Preserves
With Toast or Bagels
One of the simplest and most satisfying ways to enjoy your freshly made strawberry preserves recipe is to spread it generously on warm toast or a toasted bagel. The sweet, fruity flavor complements buttery spreads beautifully, making for a delightful breakfast or snack. For an extra touch, sprinkle a bit of cream cheese before adding your preserves for a delightful contrast of flavors.
As a Topping for Desserts
Elevate your desserts by using strawberry preserves as a luscious topping. Drizzle it over vanilla ice cream, incorporate it into a layered parfait, or use it as a filling between cake layers for a burst of flavor. It pairs wonderfully with cheesecakes and brownies, giving a fruity twist that’s simply irresistible. Consider exploring more creative dessert ideas on Serious Eats or Bon Appétit for inspiration!
Time Breakdown for Strawberry Preserves
Preparation time
Getting your strawberries ready will take about 10 minutes. Spend some time hulling and smashing those juicy fruits, and you'll set a great foundation for this delicious strawberry preserves recipe.
Cooking time
Once everything’s combined, the cooking process takes around 9-12 minutes. You'll want to keep a close watch as you bring it to a boil!
Total time
In all, you’re looking at approximately 1 to 2 hours. This includes cooling time after cooking, making it a great choice for a relaxed afternoon in the kitchen.
For more tips on making the perfect strawberry preserves, check out this guide from Jamie Oliver.
Nutritional Facts for Strawberry Preserves
When you whip up a tasty batch of strawberry preserves, knowing the nutritional facts can help you enjoy it guilt-free. Here’s a quick rundown:
Calories per tablespoon
Each tablespoon of your homemade strawberry preserves clocks in at about 29 calories. That’s a small indulgence for a sweet treat!
Sugar content
Sugar content is around 6 grams per tablespoon. While some sugar is necessary for that delightful sweetness, consider balancing it with fresh fruits in your meals.
Vitamin C level
Packed with 23 mg of Vitamin C per tablespoon, these preserves not only satisfy your sweet tooth but also give your immune system a nice boost. For more on the benefits of Vitamin C, check out Healthline's insights.
Being aware of these nutritional details can enhance your enjoyment of this classic strawberry preserves recipe. Dive into this delicious treat while still making mindful choices!
FAQ about Strawberry Preserves
Can I use frozen strawberries?
Absolutely! Using frozen strawberries can be a great alternative, especially if fresh ones aren’t in season. Just keep in mind that frozen fruit tends to release more water during cooking. To adjust, you might want to simmer the preserves a bit longer to achieve that perfect thickness. Thaw them beforehand for an easier mash!
What can I use if I don’t have lemon juice?
If you find yourself without lemon juice, don't worry! You can substitute it with vinegar—apple cider vinegar works well. Alternatively, a dash of citric acid can provide that necessary acidity to balance the sweetness. These options will maintain the bright flavor you expect from your strawberry preserves recipe.
How long do homemade strawberry preserves last?
Homemade strawberry preserves typically last about one week in the refrigerator. To extend their shelf life, consider freezing them—properly stored, they can last up to a year. Just make sure to use airtight containers to maintain freshness. Enjoy the vibrant taste of summer all year round!
For more tips on preserving fruit, consider checking out resources like The National Center for Home Food Preservation for expert advice.
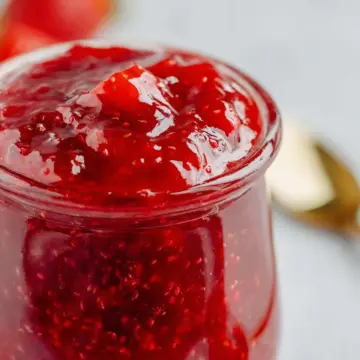
Conclusion on Strawberry Preserves
In conclusion, this strawberry preserves recipe is a delightful way to capture the essence of summer in a jar. With just a few simple ingredients and straightforward steps, you can create a flavorful treat perfect for spreading on toast or pairing with cheese. Enjoy the vibrant taste of homemade strawberry preserves!
Strawberry Preserves Recipe
Equipment
- Saucepan
- potato masher
- Freezer-Safe Plate
Ingredients
- 1 pound fresh strawberries hulled
- ¼ cup granulated sugar
- 2 teaspoons lemon juice
- ½ teaspoon vanilla extract
Instructions
- Place a small plate in the freezer before you start cooking.
- To a 1-quart or larger saucepan, add the strawberries, sugar, and lemon juice.
- Use a potato masher or the bottom of a flat glass to lightly smash just a few of the strawberries.
- Bring to a boil over medium-high heat while stirring frequently.
- Turn the heat to the lowest you can to keep it at a full boil. Let boil for about 9 minutes.
- When you think the preserves are ready, drop a small spoonful onto the cold plate and let it sit for a minute.
- When it's done, stir in the vanilla extract.
- Remove the saucepan to a wire rack to cool completely, about 1-2 hours.
- Transfer into clean jars and refrigerate for up to 1 week.

Leave a Reply