
Introduction to Japanese Cheesecake Best Recipe
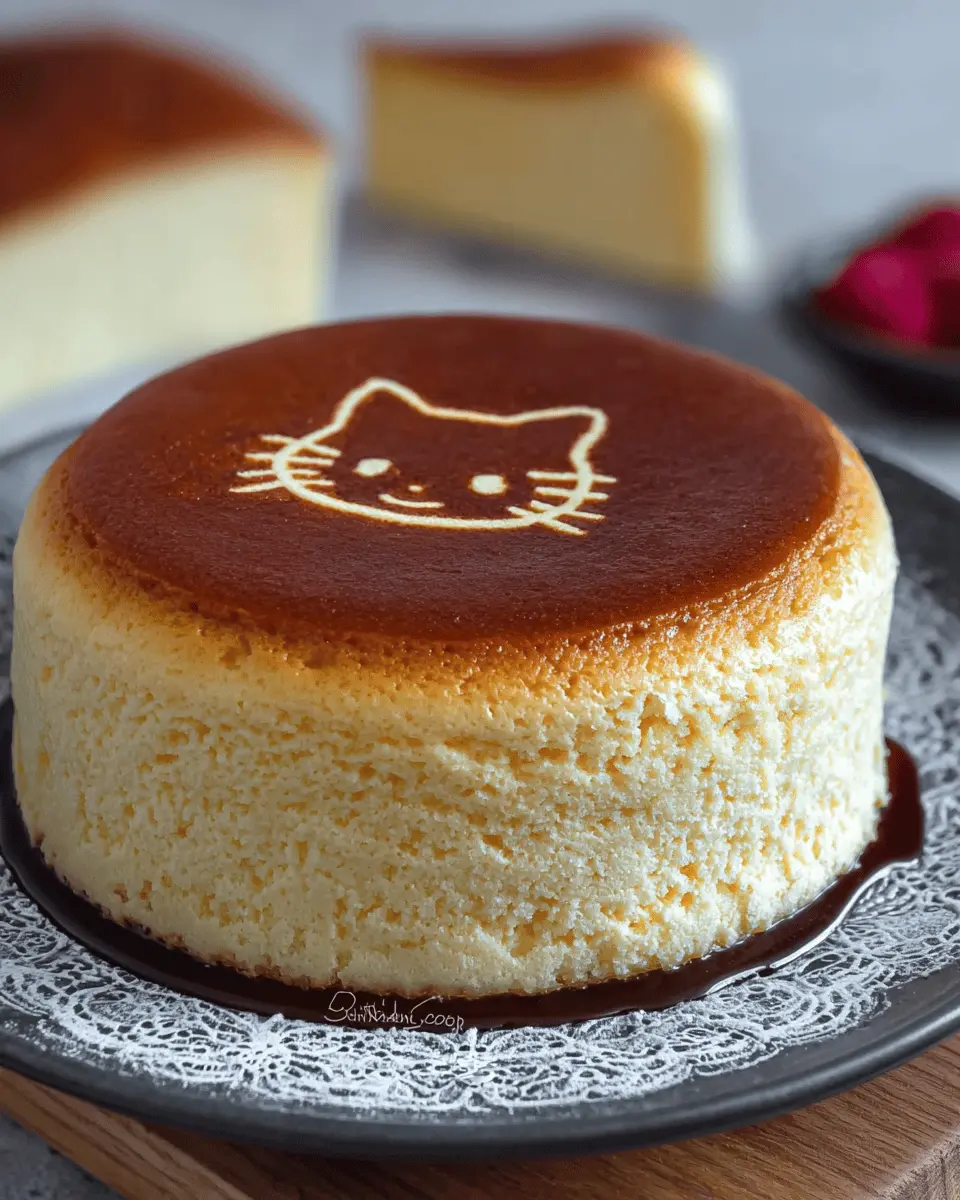
If you're on the hunt for the ultimate homemade treat, look no further than Japanese cheesecake. This delightful dessert combines the best aspects of traditional cheesecake and fluffy soufflés, resulting in a tender, airy cake that melts in your mouth. Unlike its denser counterparts, Japanese cheesecake is light and comforting, making it an ideal choice for gatherings or a cozy evening in.
So, why is it considered the Japanese Cheesecake best recipe? For starters, the texture is simply unparalleled — it combines creaminess with a delicate fluffiness, achieved through the careful folding of whipped egg whites that create that signature rise. Plus, it's surprisingly easy to make at home!
This recipe is a slight adaptation of a popular version from I Eat I Shoot I Post. With just a handful of ingredients and simple steps, you can indulge in this heavenly creation without the need for prior baking experience.
As you prepare to embark on this culinary adventure, remember that patience is key; the chilling time allows the flavors to meld beautifully. So grab your mixing bowls and let's dive into how to whip up your very own Japanese cheesecake!
Ingredients for Japanese Cheesecake
The cream cheese mixture essentials
To kick off your Japanese Cheesecake Best Recipe, you'll need a few critical ingredients to create a rich, creamy base. Start with 250 grams of Philadelphia cream cheese; this will give your cake that quintessential luscious texture. Combine it with 6 egg yolks—try to ensure these are fresh! Next, add 70 grams of castor sugar to sweeten the mix gently, along with 60 grams of unsalted butter for that rich mouthfeel.
Don't forget the liquids: 100 ml of full-cream milk and a splash of 1 tablespoon of lemon juice will balance the flavors beautifully. Plus, some 1 tablespoon of lemon zest adds a lovely citrus aroma. For the dry ingredients, grab 60 grams of cake flour and 20 grams of cornstarch, both crucial for that airy consistency, and finally, a pinch of ¼ teaspoon of salt to enhance all the flavors.
The meringue magic
Now onto the meringue magic that gives your cheesecake its light and fluffy texture. You’ll need 6 egg whites, so be sure to separate them cleanly to avoid any yolk contamination. Add ¼ teaspoon of cream of tartar to stabilize your meringue and help it hold that perfect peak! Gradually incorporate the remaining 70 grams of castor sugar as you whip the egg whites. The goal is to achieve soft peaks; this takes some love and attention but trust me, it's worth it!
Combining these lovingly prepared mixtures is where the magic happens. Fold the meringue into your cream cheese mix gently to maintain that airy quality, and you’re well on your way to creating an unforgettable dessert. For even more tips on achieving the perfect texture, check out sources like Fine Cooking.
Remember, patience is key in this recipe; every step adds to the enchantment of your Japanese cheesecake experience!
Step-by-step preparation for Japanese Cheesecake
There’s something uniquely delightful about Japanese Cheesecake. It's light, fluffy, and deliciously addictive—a treat that feels indulgent without the heaviness of traditional cheesecakes. If you've ever wondered how to make this airy dessert, you're in luck! Let’s break it down step-by-step, ensuring your journey to creating the Japanese Cheesecake Best Recipe is enjoyable and successful.
Preheat your oven
Start by preheating your oven to 200°C (392°F) for at least 20 minutes. This is a crucial step to ensure that your cheesecake begins baking in a hot environment, which helps achieve that lovely rise and fluffy texture we all adore. Just imagine how amazing your kitchen will smell as it warms up!
Grease the cake pan
While the oven is preheating, it's time to prepare your 8″ x 3″ cake pan. Grease the pan thoroughly with unsalted butter to prevent sticking, and then line the bottom with parchment paper. Trust me, this will save you from any heartache of a broken cake when it's time to flip it out. Ensuring the pan is well-prepared is the first step towards a flawless finish!
Create the cream cheese mixture
Next, let’s dive into making the cream cheese mixture. Using a large bowl, whisk 250 grams of cream cheese until it’s smooth over a warm water bath. Why a water bath? It gently warms the cheese, making it easier to combine the rest of the ingredients. Add in 6 egg yolks and 70 grams of castor sugar, whisking until combined. Warm 60 grams of unsalted butter and 100 ml of milk (full cream or whole), then whisk them into the mixture along with salt, lemon juice, and lemon zest. Lastly, sift in cake flour and cornstarch to ensure a light texture.
Whip up the meringue
Once you have your cream cheese mixture ready, it’s time to move on to the meringue. In another bowl, whisk 6 egg whites at a low speed until they are foamy. Add ¼ teaspoon of cream of tartar; this helps stabilize the meringue. Gradually incorporate the remaining 70 grams of sugar, beating until you reach soft peaks. This step is vital: the whipped egg whites will provide the signature fluffiness of your cheesecake!
Combine the mixtures
Gently fold the meringue into your cream cheese mixture in three additions. This needs patience—folding gently helps maintain the airiness of the meringue, which is key to achieving that light and fluffy texture. Remember, it’s all about being gentle here!
Bake the cheesecake
Finally, pour your blended mixture into the prepared cake pan and tap it gently on the counter to release any air bubbles. Now, for the baking! Place the cake in a water bath on the bottommost rack in your preheated oven. Bake at 200°C for 18 minutes, then lower the temperature to 140°C (284°F) for another 30 minutes. Turn off the oven and leave the cheesecake inside, allowing it to cool gradually—this helps prevent cracks on the surface.
After leaving it to cool, the enticing aroma of your Japanese Cheesecake will fill your kitchen. Allow it to chill in the fridge for at least 4 hours before serving. When it’s finally time to slice and enjoy, you’ll find that each bite offers a light, delicate experience—not unlike a dreamy cloud!
For more delightful baking tips, check out resources like Serious Eats or New York Times Cooking. Happy baking!
Variations on Japanese Cheesecake
Matcha Japanese Cheesecake
For a delightful twist, consider Matcha Japanese Cheesecake. The addition of matcha powder introduces a subtle earthiness that pairs beautifully with the light, fluffy texture. Just whisk in about 2-3 tablespoons of high-quality matcha into your cream cheese mixture for a vibrant green hue and rich flavor. This variation not only tastes amazing but also offers antioxidants, making your dessert feel a touch healthier.
Chocolate Japanese Cheesecake
If you’re a chocolate lover, try Chocolate Japanese Cheesecake. To create this indulgent treat, melt 100 grams of dark chocolate and blend it into your cream cheese mixture. This will give your cheesecake a decadent chocolate profile, ensuring that every bite is rich and satisfying. Pair with fresh berries for a gorgeous contrast and a delicious contrast to the cake's fluffiness.
These variations on the Japanese Cheesecake elevate the classic recipe to new heights while keeping the beloved texture intact! If you’re looking for more twist ideas or guidance on preparation, check out Serious Eats for inspiration.
Cooking Tips and Notes for Japanese Cheesecake
Common pitfalls to avoid
When crafting the Japanese Cheesecake Best Recipe, there are a few common pitfalls that can affect your result. Ensure that your egg whites are at room temperature for better volume, and be cautious not to overmix the batter after folding in the meringue. This can lead to a dense texture rather than the light fluffiness you desire. Lastly, avoid peeking into the oven while the cake is baking, as this can cause it to deflate.
Helpful utensils for success
To achieve the perfect Japanese cheesecake, gather a quality mixing bowl, a sturdy whisk, and a rubber spatula for folding. A digital scale is also invaluable for precise ingredient measurements—especially for the cream cheese mix. Don't forget a round cake pan and parchment paper for easy removal after baking. These simple tools are key to navigating your cooking adventure with confidence! For more insights, check out Serious Eats for tips on baking techniques.
Serving Suggestions for Japanese Cheesecake
Accompaniments That Enhance Flavor
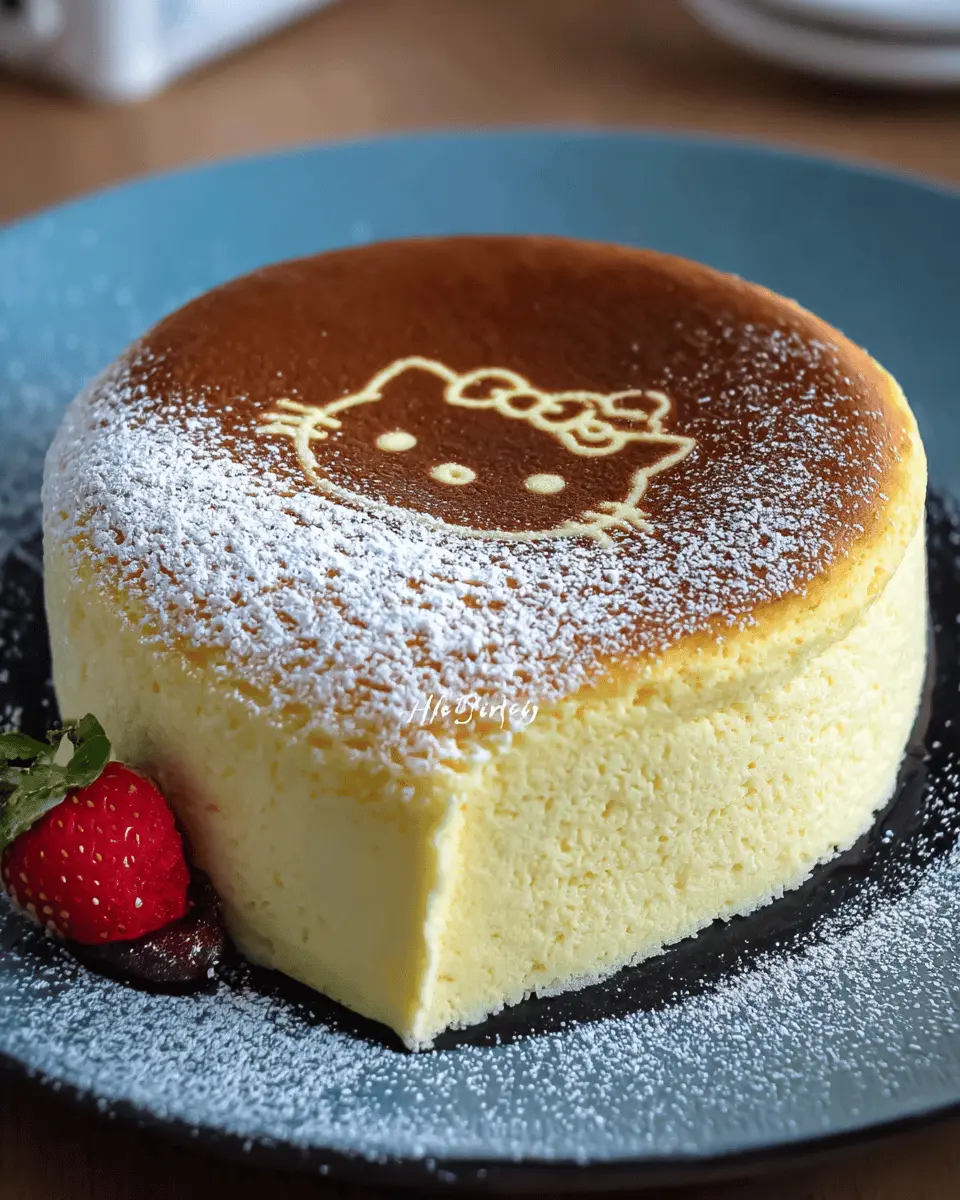
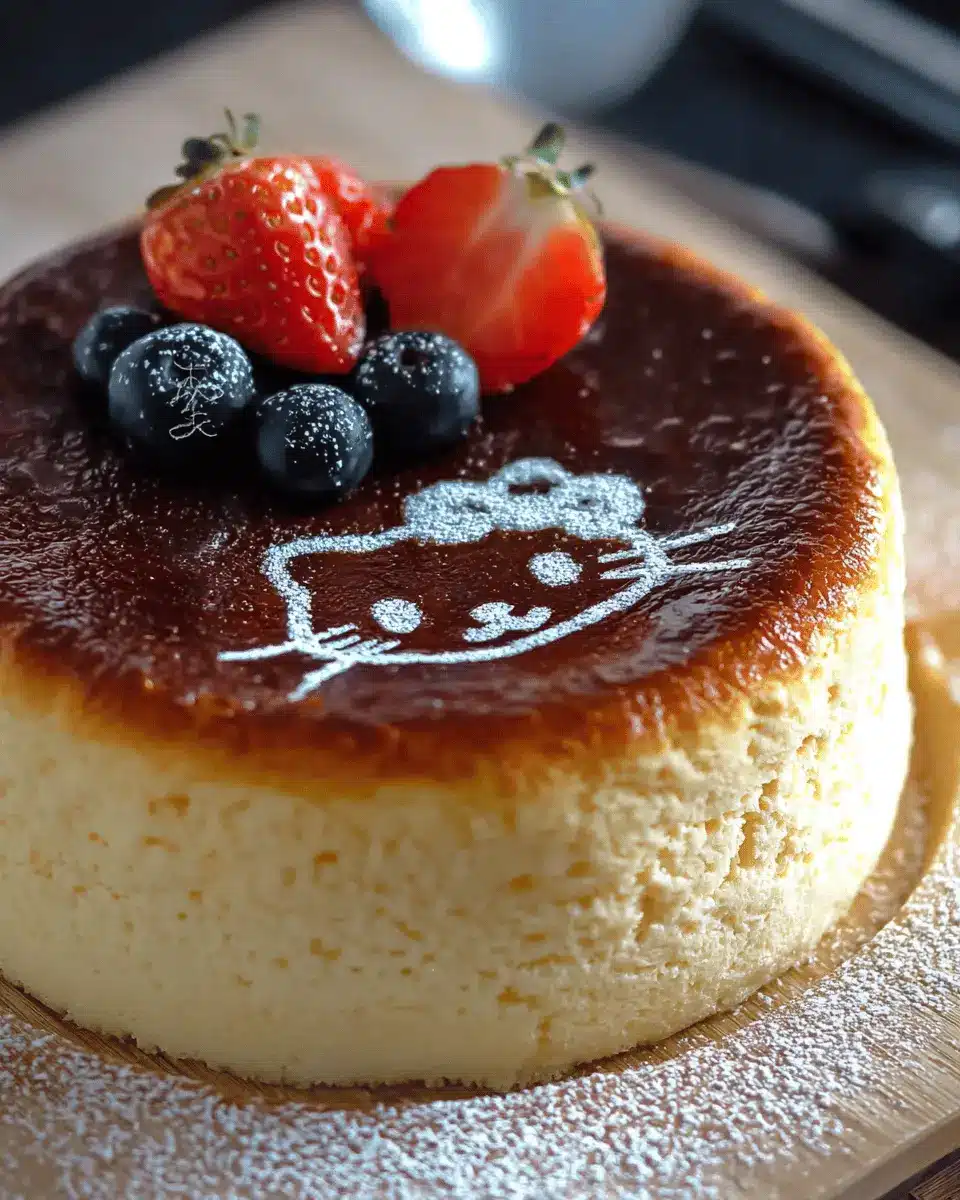
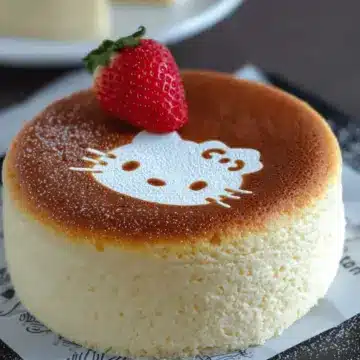
To elevate the delightful taste of your Japanese Cheesecake, consider pairing it with a light drizzle of matcha green tea glaze or a dollop of fresh whipped cream. Fresh fruits like strawberries or blueberries not only provide a burst of flavor but also add a beautiful pop of color. For a touch of sophistication, serve with a side of rich chocolate sauce or a tangy passion fruit coulis. These combinations truly highlight the cheesecake's airy texture and delicate sweetness.
Presentation Tips for Your Cheesecake
Visual appeal plays a significant role in enjoying your dessert! Place your Japanese Cheesecake on a decorative cake stand to give it an elegant touch. Dust the top lightly with powdered sugar for a clean finish, and consider garnishing with mint leaves for a fresh vibe. Serving slices with a side of beautiful fruit arrangements can transform your cheesecake into a restaurant-worthy experience. Don't forget to share on social media; everyone will want to know how you achieved the light and fluffy perfection! Explore more presentation ideas on sites like Food52 for inspiration.
Time Breakdown for Japanese Cheesecake
When preparing this delightful Japanese Cheesecake, it’s essential to manage your time effectively. Here’s a quick breakdown to help guide you through the process:
Preparation Time
Spend about 20 minutes gathering ingredients and mixing the cream cheese base. This initial stage sets the foundation for your fluffy cake.
Bake Time
The baking itself takes approximately 48 minutes—it’s a careful process of temperature control to achieve that perfect rise and texture.
Chill Time
Patience is key! After baking, allow your cheesecake to chill in the refrigerator for 4 hours. This helps it set, making for a melt-in-your-mouth experience.
With this timeline, you can seamlessly plan your baking session and enjoy the process of creating this tasty treat! For more tips on mastering the Japanese Cheesecake best recipe, check out Baker’s Journal.
Nutritional Facts for Japanese Cheesecake
If you're indulging in this delightful Japanese Cheesecake, it's good to be aware of its nutritional profile.
Calories
Each serving of this cheesecake contains approximately 276 calories, making it a satisfying yet moderate treat.
Total Fat
With 15 grams of total fat, this cheesecake balances richness and flavor, largely thanks to the cream cheese and butter used.
Protein
You'll also get about 7 grams of protein per slice, which helps provide a bit of substance to your dessert.
For more detailed insights into managing your dietary intake, consider checking out resources like the USDA FoodData Central for comprehensive food data.
FAQs about Japanese Cheesecake
What is the texture of Japanese cheesecake like?
Japanese cheesecake is renowned for its light and airy texture, often described as a delightful fusion between traditional cheesecake and a soufflé. When baked correctly, it has a fluffy and moist interior, with a slightly toasted exterior. The soufflé-like consistency creates a melt-in-your-mouth experience, making it a favorite for those looking for a less dense dessert. You simply have to try this Japanese Cheesecake Best Recipe to experience it for yourself!
How can I store leftover cheesecake?
If you find yourself with leftover Japanese cheesecake, don't worry! It can be stored in the refrigerator for up to three days. Simply cover it securely with plastic wrap or place it in an airtight container to maintain its moisture and texture. For longer storage, consider freezing it. Wrap slices individually in plastic wrap and then in foil, placing them in a freezer-safe bag. It should keep well for about a month, ensuring you can enjoy it later!
Can I make Japanese cheesecake without an oven?
Absolutely! You can create a delightful version of Japanese cheesecake using a steaming method instead of baking. By using a stovetop steamer, you can achieve a similar fluffy texture without needing an oven. Just ensure to control the heat carefully and check for doneness by inserting a toothpick. If you're intrigued by this alternative method, plenty of resources and community recipes are available online to guide you!
Conclusion on Japanese Cheesecake
Why You Should Bake This Cheesecake Today!
If you’re on the lookout for a dessert that feels indulgent yet light, Japanese cheesecake is your answer! Easy to make and deliciously airy, this Japanese Cheesecake Best Recipe will impress your friends and family. Bake it today and indulge in a slice of heaven!
Japanese Cheesecake: Best Recipe
Equipment
- oven
- 8-inch round cake pan
- mixing bowls
- whisk
- parchment paper
- measuring cups
- measuring spoons
- Sifter
- spatula
Ingredients
CREAM CHEESE MIXTURE
- 250 gram Philadelphia cream cheese
- 6 pieces egg yolks approximately 118g total
- 70 gram castor sugar half of total 140 gram
- 60 gram unsalted butter
- 100 ml full-cream milk or whole milk
- 1 tablespoon lemon juice
- 2 teaspoon lemon zest
- 60 gram cake flour or superfine flour
- 20 gram cornstarch
- ¼ teaspoon salt
MERINGUE
- 6 pieces egg whites approximately 264g total
- ¼ teaspoon cream of tartar
- 70 gram castor sugar half of total 140 gram
Instructions
Baking Instructions
- Preheat the oven to 200°C / 392°F (Top and bottom heat, no fan force) for at least 20 minutes before baking your cake batter.
- Grease an 8" x 3" cake pan with butter, and line the bottom with baking or parchment paper.
- Whisk cream cheese in a large bowl till smooth over a warm water bath. Add yolks and whisk. Add half the sugar (70 grams) and whisk. Warm milk and butter in the microwave and whisk into batter. Add salt, lemon juice, lemon zest and whisk. Remove from the water bath, sift cake flour and corn starch, and fold into a mixture.
- Whisk egg whites at low speed till foamy. Add cream of tartar and beat at high speed till bubbles become very small but still visible. Gradually add the balance of 70 grams of sugar and beat till soft peaks.
- Fold whites into batter ⅓ at a time.
- Pour into the cake pan and tap the pan on the counter to release air bubbles.
- Bake with a water bath on the bottommost rack in a preheated 200°C / 392°F for 18 mins, then lower to 140°C / 284°F for another 30 mins. Let the heat in the oven drop gradually with the door closed, then turn off the oven and leave the cake in the closed oven for another 30 mins. Remove the water bath and open the door of the oven slightly at the end of the baking for another 30 minutes for the cake to cool.
Leave a Reply