
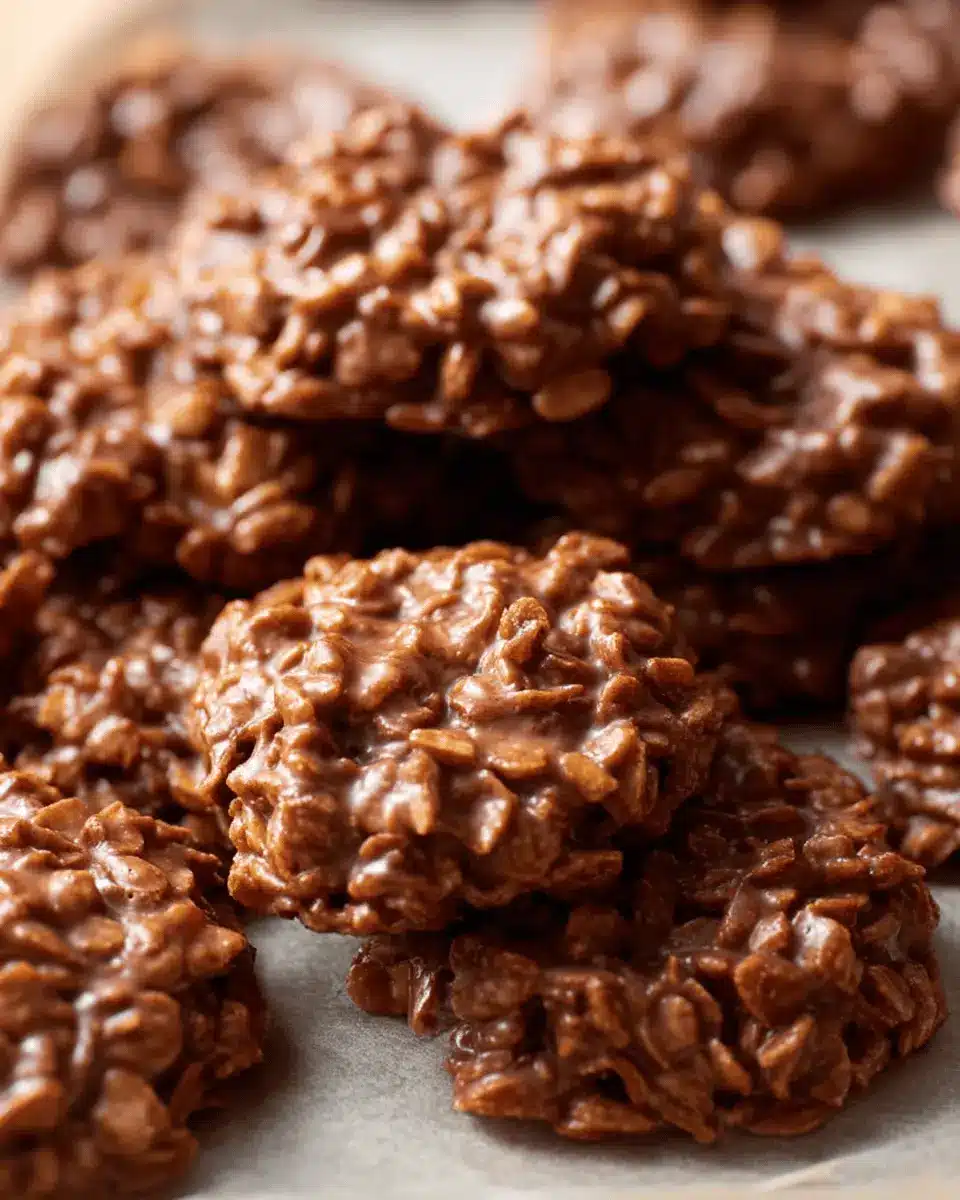
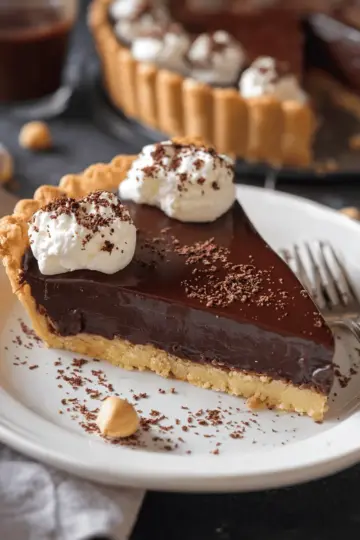
Introduction to Classic No-Bake Cookies
When you’re in need of a quick and delicious treat, look no further than classic no-bake cookies! These delightful confections blend simplicity with mouthwatering flavors, making them perfect for novice bakers and seasoned chefs alike. Unlike traditional cookies that require an oven, no-bake cookies come together in a single pot, utilizing just stovetop heat. This means you can whip up a batch in no time, especially when those unexpected guests arrive or a craving strikes!
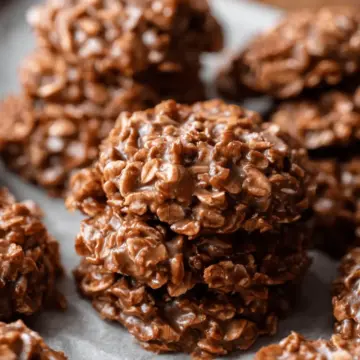
So, what are classic no-bake cookies? They are a rich and chewy treat typically made from a handful of pantry staples you probably already have on hand—think peanut butter, oats, cocoa powder, and a touch of sweetness. Whether you're a chocolate lover or simply someone with a sweet tooth, these cookies offer a satisfying crunch and a melt-in-your-mouth consistency that’s hard to resist.
For a deeper dive into the variations and methods for creating these cookies, check out resources from reputable culinary sites like Bon Appétit or Food Network. Both offer tips and tricks that can elevate your cookie game. Let’s get started with the easy recipe you’ll absolutely love!
Ingredients for Classic No-Bake Cookies
Essential Ingredients
Creating your delicious classic no-bake cookies starts with a handful of key components. Here’s what you’ll need:
- Butter: ½ cup (115 grams) sliced into pieces. This is essential for that rich, creamy base.
- Granulated Sugar: 2 cups (400 grams) provide the sweetness that balances the cocoa.
- Milk: ½ cup (120 ml) helps the sugar and cocoa blend beautifully.
- Cocoa Powder: ¼ cup (20 grams) adds that rich chocolate flavor we all love.
- Peanut Butter: ½ cup (125 grams) is the star ingredient, giving the cookies their signature taste.
- Vanilla Extract: 1 teaspoon enhances the overall flavor.
- Oats: 3 cups (300 grams) are the binding component that gives these cookies their chewy texture.
Optional Ingredients for Customization
Want to mix things up? Here are some tasty tweaks you can make:
- Chopped Nuts: Adding walnuts or pecans can add a delightful crunch.
- Chocolate Chips: For extra chocolatey goodness, fold in ½ cup of semisweet chocolate chips.
- Dried Fruits: Throw in some raisins or cranberries for a fruity touch.
- Shredded Coconut: A little coconut can add a tropical flair.
Feel free to experiment with these optional ingredients to create your perfect batch of classic no-bake cookies! For more inspiration, check out Serious Eats for diverse cookie variations.
Step-by-step preparation of Classic No-Bake Cookies
Making classic no-bake cookies is not just simple, it’s also a fun and nostalgic experience! These cookies come together quickly and are perfect for satisfying your chocolate cravings without turning on the oven. Let’s dive into this delightful process together.
Gather your ingredients
Before you even think about mixing those magical ingredients, you’ll want to gather everything you’ll need. This makes the cooking process smooth and less chaotic. Here’s your shopping list:
- ½ cup (115 grams) butter
- 2 cups (400 grams) granulated sugar
- ½ cup (120 ml) milk
- ¼ cup (20 grams) unsweetened cocoa powder
- ½ cup (125 grams) creamy peanut butter
- 1 teaspoon pure vanilla extract
- 3 cups (300 grams) quick-cooking oats
Once you have collected all your ingredients, line two large baking sheets with parchment paper. This little prep step is crucial for easy cleanup later!
Combine butter, sugar, milk, and cocoa
Now comes the fun part! Take a large saucepan and toss in the butter, sugar, milk, and cocoa powder. Heat this mixture over medium heat, stirring frequently until the butter melts completely and everything is well combined. (Pro tip: Keeping an eye on this mixture helps prevent it from burning.) For some extra fun facts, you can read about the benefits of using cocoa powder in desserts here.
Bring the mixture to a boil
Once everything is integrated, increase the heat until the mixture reaches a rolling boil. This is the moment you want to watch closely! Set a timer and allow it to boil for exactly 60 seconds. This step is key to achieving that perfect texture in your no-bake cookies.
Stir in peanut butter and vanilla
Remove the saucepan from heat and stir in the creamy peanut butter and vanilla extract. You’ll notice the mixture becoming super gooey and delicious—it’s tempting to taste it now! Just a little hint: make sure to stir until everything is well combined, so that the peanut butter flavor is evenly distributed.
Mix in the oats
Next, it’s time to add the star of our show: the oats! Stir in the three cups until every oat is coated in that chocolatey goodness. The texture will begin to come together as the mixture thickens up.
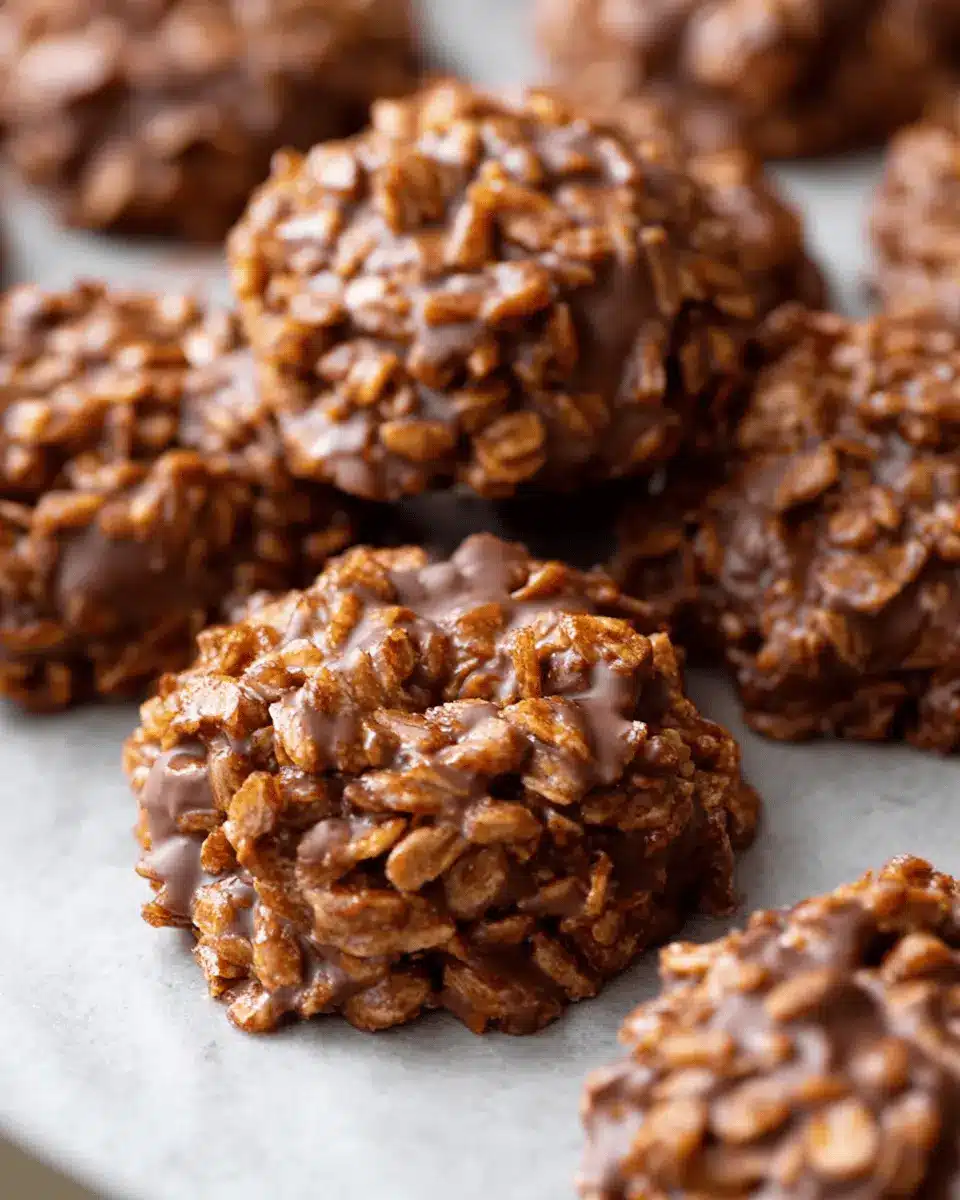
Drop spoonfuls onto baking sheets
Now that everything is combined, use a cookie scoop or a spoon to drop generous spoonfuls onto your prepared baking sheets. Leave a little space between the cookies as they may spread slightly while they cool.
Allow to cool before enjoying
Finally, resist the urge to dig in immediately! Allow your cookies to cool for about 20 to 30 minutes. Once they’ve solidified, indulge in these delicious classic no-bake cookies! Remember, they’ll stay fresh for up to a week if stored in an airtight container at room temperature.
So there you have it! Follow these steps, and you’ll create a delightful treat that’s perfect for any occasion or just a cozy night at home. Happy baking!
Variations on Classic No-Bake Cookies
Peanut Butter Chocolate Variations
Love the classic flavor but want to shake things up? Try adding ingredients like chocolate chips, or swirling in a touch of nutella. For a fun twist, mix in some toasted nuts or even shredded coconut. Each addition complements the rich peanut butter beautifully, creating delightful variations that cater to every sweet tooth.
Gluten-Free Options
For those needing gluten-free treats, simply swap in certified gluten-free oats! You can also explore alternatives like almond flour or coconut flour to achieve that delightful chewy texture. Not only are these adaptations incredibly easy, but they also ensure everyone can enjoy these classic no-bake cookies. Check out this resource on gluten-free baking for more tips!
Cooking tips and notes for Classic No-Bake Cookies
Storage Instructions
To keep your classic no-bake cookies fresh, store them in an airtight container at room temperature. They’ll stay delicious for up to a week—though they often don’t last that long! Make sure to separate layers with parchment paper to prevent them from sticking together.
Freezing Tips and Serving Suggestions
For longer storage, these cookies freeze beautifully! Once completely cooled, place them in a freezer-safe bag or container for up to three months. When you're ready to enjoy, simply thaw them at room temperature for that homemade taste. For a fun twist, serve them topped with a scoop of ice cream or alongside a cup of coffee for a delightful pairing!
Creative Serving Suggestions for Classic No-Bake Cookies
Pairing with Milk or Coffee
Nothing complements classic no-bake cookies like a glass of cold milk or a steaming cup of coffee. The creamy peanut butter and rich chocolate flavor of the cookies blend harmoniously with the smoothness of milk or the bold notes of coffee. Consider trying a flavored coffee, like hazelnut or vanilla, to bring out the cookie's delightful taste even more. You might find yourself savoring each bite while soaking up those cozy vibes!
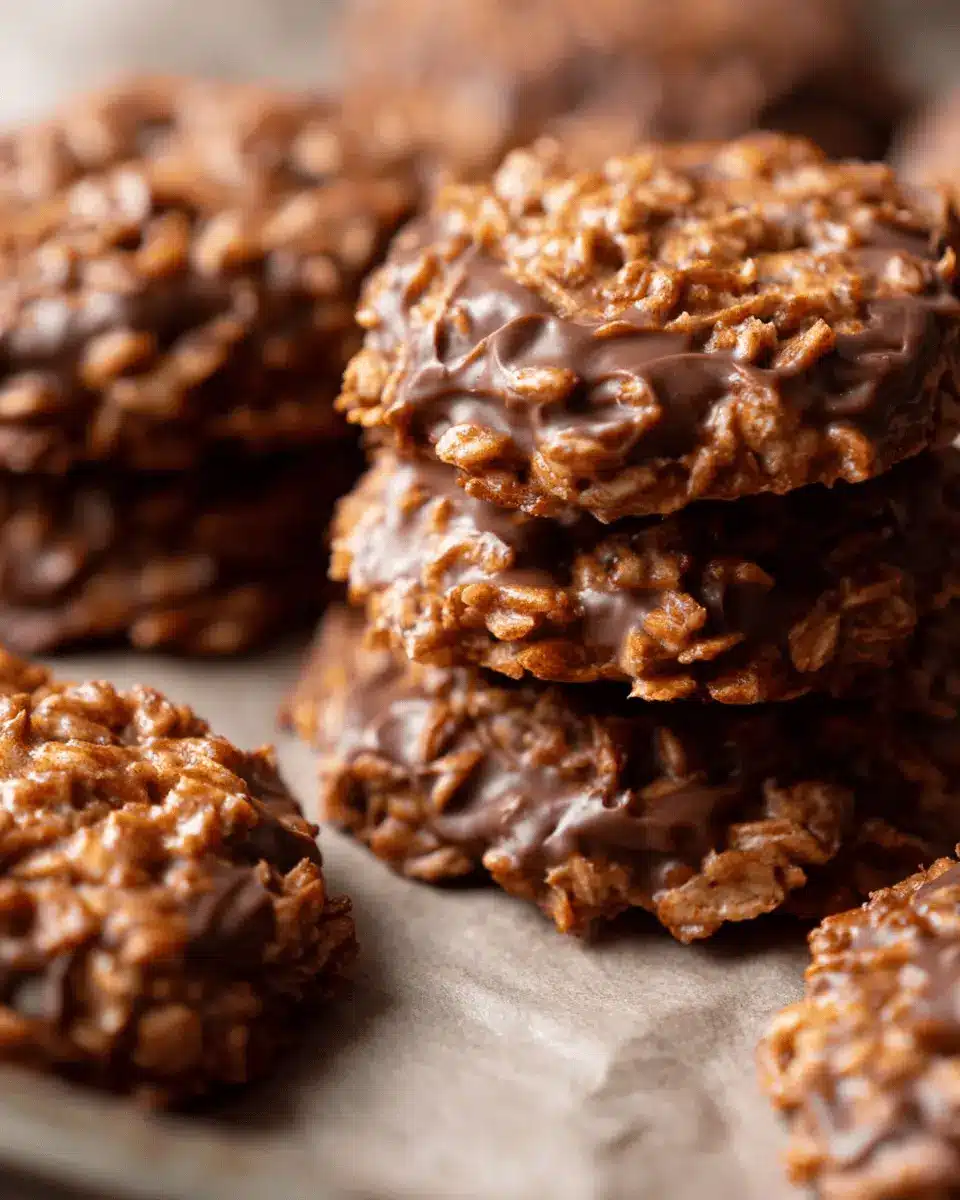
Creative Plating Ideas
Serve your classic no-bake cookies with a twist! Try stacking them on a rustic wooden board for an inviting presentation or use colorful dessert plates for a fun pop. You can also sprinkle some chopped nuts or a dusting of cocoa on top of the cookies to add visual interest. For a unique touch, pair them with seasonal fruits like strawberries or bananas for a fresh contrast. Remember, the way you present your dessert can make the experience even more enjoyable!
Time Breakdown for Classic No-Bake Cookies
Preparation Time
Getting your ingredients ready only takes about 20 minutes. It's a simple process: just gather your butter, sugar, milk, cocoa powder, peanut butter, vanilla, and oats. You'll want to measure everything out to ensure that your classic no-bake cookies come together smoothly.
Cooling Time
After mixing everything together, the cookies need to cool for about 20 to 30 minutes. This is the moment when the magic happens, so be patient! The cooling time helps the cookies firm up nicely.
Total Time
In total, you’ll spend about 45 minutes making these delightful treats. With just a little time and effort, you can enjoy a batch of delicious classic no-bake cookies that are sure to please family and friends alike!
For more engaging recipes, check out this baking guide or explore the history of no-bake cookies.
Nutritional Facts for Classic No-Bake Cookies
Calories per cookie
Each of these delightful classic no-bake cookies contains approximately 100 calories, making them a tasty treat without derailing your daily nutrition. Enjoying one (or two) won’t send your calorie count spiraling!
Protein content
These cookies pack a punch with about 2 grams of protein per cookie, thanks to the creamy peanut butter that adds both flavor and nutrition. It’s a small yet satisfying boost to keep you going!
Sugar content
With around 7 grams of sugar per cookie, the sweetness comes from granulated sugar and peanut butter. While they’re indulgent, moderation is key! You can always pair them with something savory to balance your snack.
Are you curious about how to incorporate these fun cookies into a balanced diet? Check out resources from the USDA for more insights on nutrition!
FAQ about Classic No-Bake Cookies
Can I substitute ingredients in the recipe?
Absolutely! Making classic no-bake cookies is all about flexibility. If you're out of creamy peanut butter, try almond or cashew butter for a nutty twist. For sweetness, you can swap granulated sugar with honey or maple syrup, but keep in mind this might alter the texture slightly. You can also toggle the type of milk—almond or oat milk works wonderfully!
What’s the best way to store no-bake cookies?
Storage is simple! Keep your no-bake cookies in an airtight container at room temperature. If you want to make them last longer, consider freezing them. Use a freezer bag or a storage container to keep them fresh, and they’ll be good for up to three months.
How long do no-bake cookies last?
Typically, classic no-bake cookies remain delicious for about one week at room temperature. If stored properly in the freezer, you can enjoy them for up to three months! Just remember to let them thaw before indulging again.
For more tips on cookie storage, check out this article on baking storage solutions.
Conclusion on Classic No-Bake Cookies
Classic no-bake cookies are a delightful and easy treat for any occasion. With just a few ingredients and minimal prep time, you can whip up a batch that will impress friends and family alike. Remember that these cookies not only taste fantastic, but they'll also bring back fond childhood memories. Enjoy this simple recipe and feel free to experiment with mix-ins like nuts or dried fruit for a personal touch!
Classic No-Bake Cookies: Easy Indulgence for Chocolate Lovers
Equipment
- large saucepan
- cookie scoop
- baking sheets
- parchment paper
Ingredients
Main Ingredients
- ½ cup butter sliced into pieces
- 2 cups granulated sugar
- ½ cup milk whole milk preferred
- ¼ cup unsweetened cocoa powder
- ½ cup creamy peanut butter
- 1 teaspoon pure vanilla extract
- 3 cups quick-cooking oats or old-fashioned rolled oats
Instructions
Preparation
- Before getting started, gather all of your ingredients and measure everything out. Line two large baking sheets with parchment paper and set aside.
- Combine the butter, sugar, milk, and unsweetened cocoa powder in a large saucepan and heat over medium heat, stirring often until melted and well combined. Bring to a rolling boil and allow to boil for 60 seconds, stirring occasionally.
- Remove from heat, stir in the peanut butter and vanilla extract until fully combined. Stir in the oats until all oats are coated and well combined.
- Drop spoonfuls of the mixture onto prepared baking sheets. Allow to cool for 20 to 30 minutes, serve, and enjoy!
Leave a Reply