
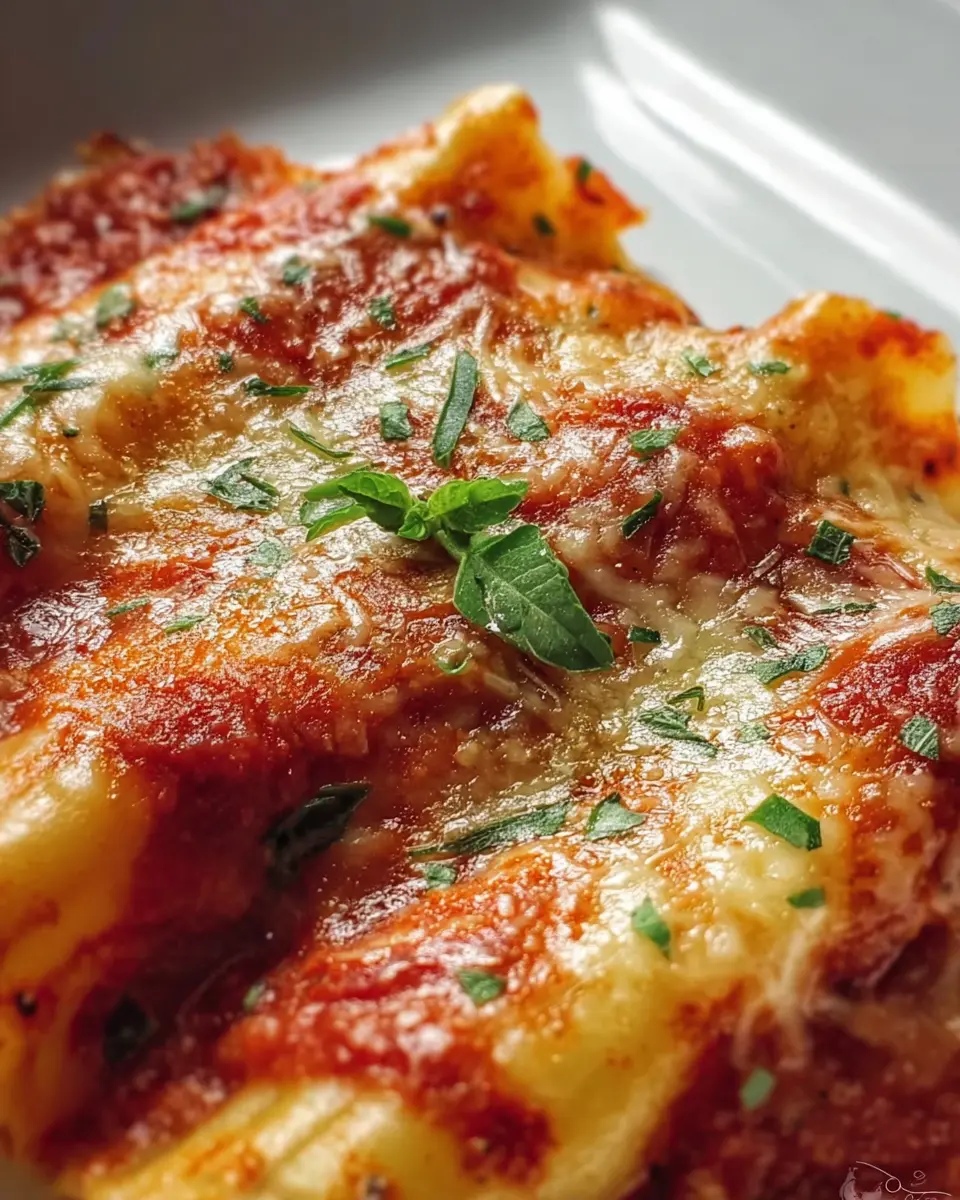
Introduction to Manicotti Shells
If you’ve ever wondered what makes manicotti shells so special, let me take you on a journey into their delicious world! Making these stuffed pasta shells at home is a gratifying experience, and you might be surprised by how easy it is. Unlike store-bought versions, homemade manicotti shells can be customized with your favorite ingredients, ensuring a freshness that’s hard to beat. Plus, there’s something uniquely satisfying about crafting your pasta from scratch—it’s almost like a little culinary therapy!
Why make manicotti shells at home? For one, the flavor and texture of freshly made pasta can elevate your dish exponentially. Store-bought shells often lack that tender bite and rich taste that comes with a homemade touch. Additionally, you can experiment with different fillings and sauces, tailoring each batch to your taste. Whether it’s spinach and ricotta, savory turkey bacon, or even hearty beef, the possibilities are broad and boundless!
If you’re curious about other innovative pasta techniques, consider checking out resources like America's Test Kitchen, which offers great insights into pasta making and more. So, roll up your sleeves, and let’s get started on crafting these delightful manicotti shells!
Ingredients for Manicotti Shells
Creating the perfect manicotti shells is all about using simple yet quality ingredients. Here’s what you need to get started:
- 2 cups all-purpose flour: This serves as the foundation for your dough, giving the shells their structure.
- 3 large eggs: Eggs not only bind the mixture but also add richness to the flavor.
- ¼ teaspoon salt: A pinch of salt enhances the overall taste and balances the flavors.
- 2 tablespoons olive oil: This adds moisture and a subtle fruity flavor, making your shells delightful.
- ½ cup water (as needed): The amount of water can vary; you’ll want just enough to achieve a soft, workable dough.
- 1 tablespoon semolina flour (for dusting): Semolina helps your dough roll out smoothly without sticking.
- 1 tablespoon extra virgin olive oil (for boiling): Adding this to your boiling water prevents the shells from sticking together.
For more information on the advantages of using high-quality ingredients, check out this article on Nutritional Benefits of Olive Oil. Remember, the fresher your ingredients, the tastier your manicotti shells will be!
Preparing Manicotti Shells
Making your own manicotti shells can elevate a classic Italian dish into something truly special. The process requires a bit of effort, but trust me, the results are worth every minute. Let’s break it down into manageable steps so you can create perfect shells that’ll wow everyone at your dinner table. Follow along!
Mixing the Dough Ingredients
The first step in preparing your manicotti shells is all about mixing the right ingredients. Start by combining 2 cups of all-purpose flour and ¼ teaspoon of salt in a large bowl. This forms the base of your dough. Next, make a well in the center of the flour mixture and add 3 large eggs and 2 tablespoons of olive oil. As you mix everything together, gradually incorporate ½ cup of water, a little at a time. This technique helps ensure that your dough forms beautifully without turning gummy. Knead the mixture for about 8-10 minutes until it becomes smooth and elastic.
Forming and Resting the Dough
Once your dough is ready, cover it with a clean kitchen towel or plastic wrap to prevent it from drying out, and let it rest for about 20 minutes at room temperature. This resting period is essential as it allows the gluten to relax, making it easier to roll out later. Meanwhile, you can prepare your fillings or sauces, like a delicious ricotta blend or a savory meat option featuring turkey or chicken.
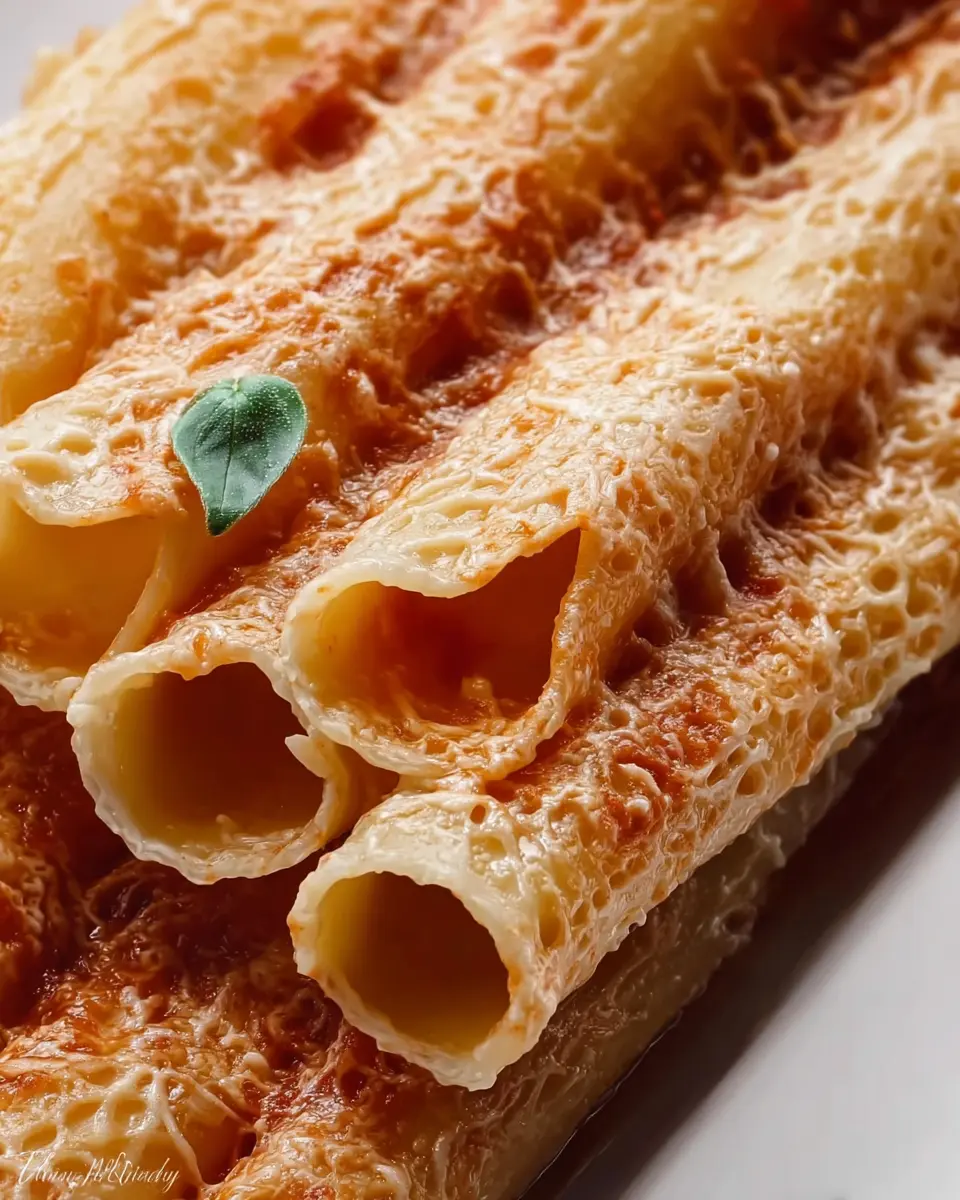
Rolling Out and Cutting the Dough
Now that your dough has had time to rest, it’s time to roll it out. Sprinkle your work surface with flour and roll the dough into a thin sheet, about ⅛-inch thick. Use a sharp knife or pizza cutter to slice the dough into 4×6 inch rectangles. This size is perfect for forming the manicotti shells. For added texture, you can lightly dust the pieces with semolina flour, which helps prevent sticking and gives a nice bite when cooked.
Cooking the Manicotti Shells
In a large pot, bring salted water to a gentle boil and add 1 tablespoon of extra virgin olive oil. Gently drop the manicotti shells into the boiling water, and cook them for about 4-5 minutes. Make sure to stir carefully to avoid sticking. Once they are slightly softened but still al dente, use a slotted spoon to remove them from the pot and place them on a clean towel to drain and cool.
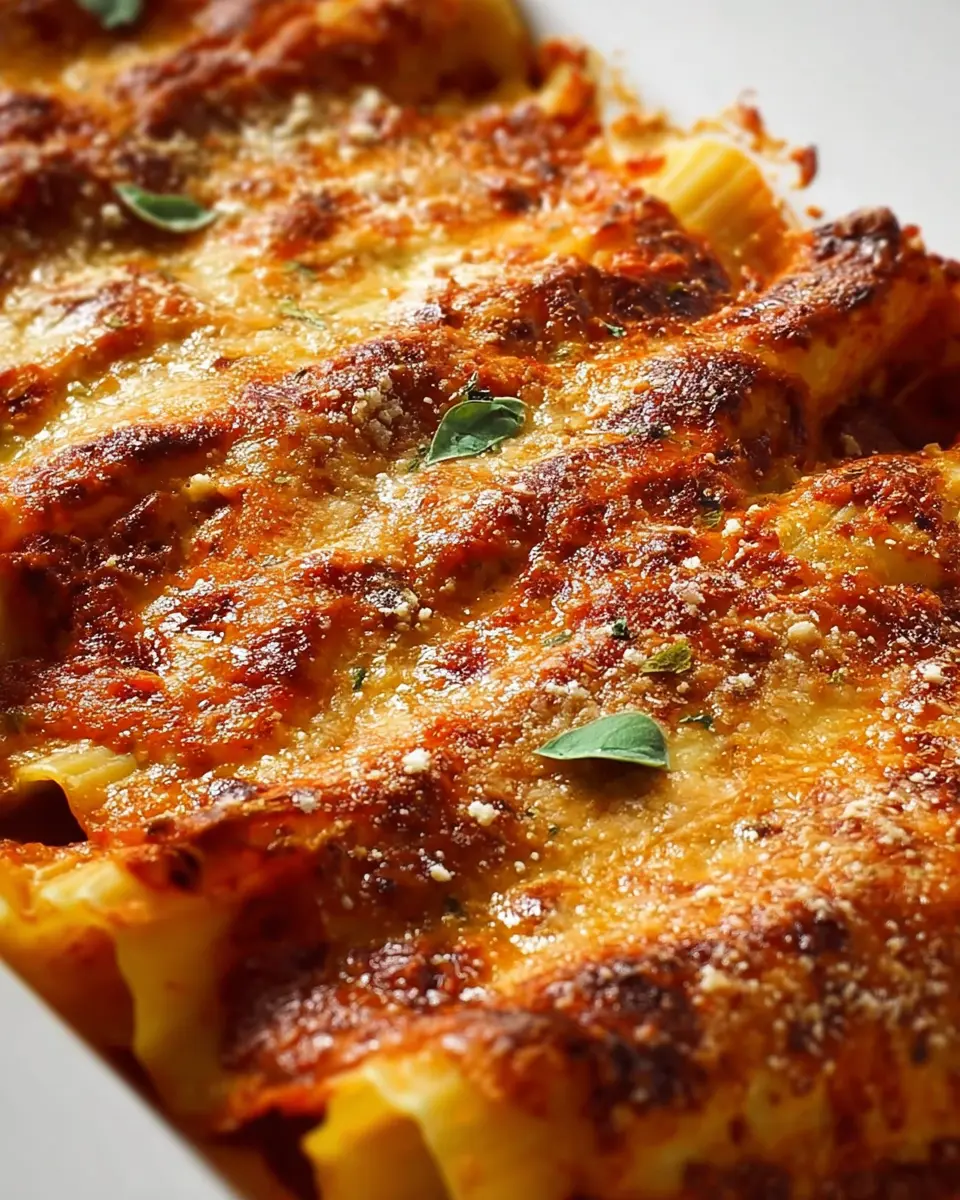
Filling and Serving Your Manicotti Shells
Now comes the fun part—filling those delightful manicotti shells! Whether you decide to go vegetarian with a mixture of ricotta and spinach, or opt for a heartier option such as turkey bacon or chicken ham, the choice is yours. Once filled, you can either bake them with your favorite sauce or serve them simply with a drizzle of olive oil and fresh herbs.
When you prepare manicotti shells from scratch, it’s not only about the food; it’s an experience that brings friends and family closer together. So get creative and enjoy this culinary journey! For more tips and techniques, consider checking out resources from notable cooking sites such as Serious Eats or Bon Appétit.
Variations on Manicotti Shells
When it comes to manicotti shells, the filling options are endless and can truly personalize your dish. Here are two delightful variations to tickle your taste buds!
Vegetarian Manicotti with Spinach and Ricotta
This version is perfect for plant lovers! Mix fresh spinach with creamy ricotta cheese, a sprinkle of nutmeg, and a dash of garlic for a vibrant filling. Top with marinara sauce and a sprinkle of mozzarella before baking to perfection. Vegetables like zucchini or bell peppers can also be thrown in for added flavor.
Meat-Filled Manicotti with Chicken, Ham, and Cheese
For a heartier option, consider a savory filling of shredded chicken and chicken ham, combined with a blend of cheeses. Add herbs like basil and oregano for an extra flavor boost. Pair this with a robust tomato sauce for a comforting dinner that’s sure to impress!
Explore various fillings and toppings to create your perfect manicotti masterpiece! If you’re interested in more delicious variations, check out this great resource.
Cooking Tips and Notes for Manicotti Shells
Making manicotti shells at home can be such a rewarding experience! Here are some handy tips to ensure you create the perfect pasta tubes every time:
-
Dough Consistency: Pay attention to the dough texture. It should be soft but not sticky. Adjust the water a little at a time to find that sweet spot.
-
Resting Time: Don’t skip the dough resting phase! This allows the gluten to relax, making it easier to roll out later.
-
Boiling Technique: For best results, make sure the water is at a gentle boil. Rapid boiling can cause the shells to break apart.
-
Fill with Flavor: Experiment with various fillings like ricotta, spinach, or even turkey bacon. The options are endless!
For more great insights on pasta-making, check out resources like Serious Eats or America's Test Kitchen. They offer helpful tutorials and tips that might inspire you!
Serving Suggestions for Manicotti Shells
When it comes to serving manicotti shells, the sky's the limit! Here are some delightful suggestions to elevate your dish:
-
Classic Marinara: Fill your shells with a rich ricotta cheese mixture, smother them in marinara sauce, and top with fresh basil. It's a comforting classic that never fails to impress.
-
Creamy Alfredo: Swap the marinara for a luscious homemade Alfredo sauce. Add cooked spinach for a nutritious twist that adds both color and flavor.
-
Savory Meats: Incorporate Turkey Bacon or Chicken Ham into your filling for a savory bite. Pair with a side salad for a well-rounded meal.
-
Seasonal Vegetables: For a lighter option, consider filling your shells with a medley of roasted seasonal vegetables. Drizzle with olive oil and lemon juice for a fresh finish.
For more flavorful ideas, check out this comprehensive guide on how to perfect your manicotti game!
Time Breakdown for Manicotti Shells
Preparation time
Preparing the manicotti shells takes about 30 minutes. This includes mixing, kneading, and rolling out the dough.
Cooking time
Once your shells are formed, cooking takes approximately 5 minutes. You want them tender but firm enough to hold your favorite filling.
Total time
In total, you're looking at around 35 minutes to create these delightful manicotti shells. Quick, right? Perfect for a cozy weeknight dinner! If you're looking for depth in flavors, consider letting the filled shells sit for a bit before baking them with your sauce.
For more tips on pasta-making techniques, you might want to check out this pasta guide. It’s a great resource to elevate your culinary skills and enjoy homemade dishes like these manicotti shells.
Now that you're ready with your time breakdown, let's dive into how to make those delicious manicotti shells!
Nutritional Facts for Manicotti Shells
Understanding the nutritional content of your manicotti shells is essential when planning your meals. Here’s a quick glance at their nutritional profile to help you make informed choices.
Calories
A standard serving of manicotti shells contains approximately 130 calories. This makes them a delightful addition to a meal without overwhelming your calorie intake.
Protein
Each serving provides around 4 grams of protein, contributing to your daily protein needs. Pair them with hearty fillings like ricotta, spinach, or turkey bacon, and you’ll enhance your protein content significantly.
Sodium
Manicotti shells contain roughly 100 mg of sodium per serving. This is relatively low, allowing you to control your overall sodium intake, especially if you’re watching your salt consumption.
For those looking to maintain a balanced diet, integrating fiber-rich vegetables and lean proteins into your manicotti fillings can further enhance nutritional value. If you want to dive deeper into the benefits of incorporating pasta into your diet, check out the Whole Grains Council for more insights!
When making your delicious manicotti shells, remember to balance your meal with a variety of colorful ingredients. They'll not only taste amazing but also provide a spectrum of essential nutrients. Happy cooking!
FAQs about Manicotti Shells
Can I freeze manicotti shells?
Absolutely! Freezing manicotti shells is a great way to save time for future meals. Just make sure they are completely cool before placing them in an airtight container or freezer bag. They can last in the freezer for up to three months. When you're ready to use them, you can cook them straight from the freezer or let them thaw in the refrigerator overnight.
What are the best fillings for manicotti shells?
The possibilities for filling manicotti shells are endless! Popular choices include:
- Ricotta cheese mixed with spices
- Spinach and mozzarella
- Ground turkey or beef for a heartier dish
- Mushrooms and herbs for a vegetarian option
Feel free to get creative! You can even try combinations of ingredients for a unique flavor profile.
How do I store leftover manicotti?
If you find yourself with leftovers, simply cover the manicotti with plastic wrap or aluminum foil and refrigerate them. They will last for about 3–4 days. To reheat, place them in an oven-safe dish with some sauce to help keep them moist—this will revive their delicious flavors beautifully!
For more tips on manicotti recipes, check out expert food blogs like Serious Eats for inspiration and insights.
Conclusion on Manicotti Shells
Manicotti shells are not just a delightful dish; they're a canvas for your culinary creativity. Whether you fill them with ricotta, spinach, or even turkey bacon, the possibilities are endless! Pair them with a homemade tomato sauce for a comforting meal. Happy cooking!
Explore more about Italian cuisine at Italian Food Forever and improve your cooking skills with tips from Serious Eats.

Manicotti Shells
Equipment
- large bowl
- rolling pin
- wooden dowel
- large pot
- towel
Ingredients
Dough Ingredients
- 2 cups all-purpose flour
- 3 large eggs
- ¼ teaspoon salt
- 2 tablespoons olive oil
- ½ cup water (as needed)
- 1 tablespoon semolina flour (for dusting)
- 1 tablespoon extra virgin olive oil (for boiling)
Instructions
Preparation
- In a large bowl, mix the all-purpose flour and salt. Make a well in the center and add the eggs and olive oil.
- Gradually mix together, adding water a little at a time until a soft dough forms. Knead for 8-10 minutes until smooth and elastic.
- Cover the dough and let it rest for 20 minutes. Roll out the dough on a floured surface into a thin sheet.
- Cut the dough into 4×6 inch rectangles. Roll each rectangle around a wooden dowel to form tubes.
- Bring a large pot of salted water and 1 tablespoon extra virgin olive oil to a gentle boil. Carefully cook the manicotti shells for 4-5 minutes. Remove and place on a towel to drain and cool.
- Fill or bake shells as desired with your preferred filling and sauce.


Leave a Reply